Chat UI
The Chat UI is a chat page in the LiteLLM Admin UI, at /ui/chat. A proxy admin enables it for the gateway. Then each user who can log in to the Admin UI can use it. Users can send messages to the models that they have access to and use the tools of MCP servers.
Each request from the Chat UI goes through the gateway. LiteLLM applies the same model access, budgets, and logs to these requests as to API requests.
The Chat UI is a beta feature. Its pages and controls can change in new releases. The Chat UI is available in v1.92.0 and newer versions.
Enable the Chat UI
The Chat UI is off by default. A proxy admin must enable it.
- Log in to the Admin UI as a proxy admin.
- Go to Settings > Admin Settings.
- Click the UI Settings tab.
- Set [BETA] Enable Chat page to on. The page refreshes.
![The Admin Settings page with the [BETA] Enable Chat page switch on and highlighted](/assets/ideal-img/chat_ui_enable.9cb432a.640.png)
![The Admin Settings page with the [BETA] Enable Chat page switch on and highlighted](/assets/ideal-img/chat_ui_enable_dark.6fef94a.640.png)
When the Chat UI is on, the view switcher at the top of the Admin UI shows Chat. Select Chat to open the Chat UI. You can also go to PROXY_BASE_URL/ui/chat.
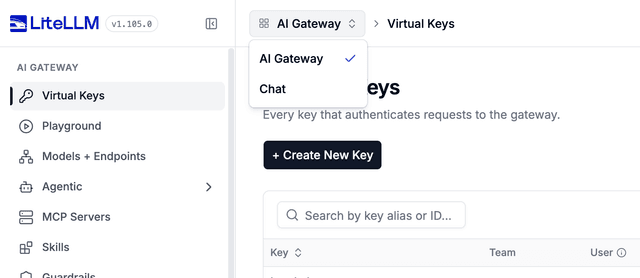
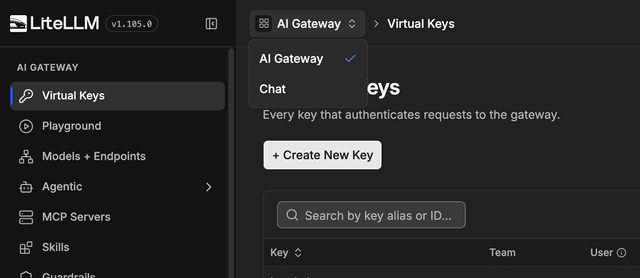
When the Chat UI is off, the view switcher shows Chat as not available. If a user goes to /ui/chat, the Admin UI opens the dashboard.
To change this value without the Admin UI, send this request with a proxy admin key:
curl -X PATCH "$PROXY_BASE_URL/update/ui_settings" \
  -H "Authorization: Bearer $LITELLM_MASTER_KEY" \
  -H "Content-Type: application/json" \
  -d '{"enable_chat_ui": true}'
LiteLLM keeps this value in the database. The gateway must have a DATABASE_URL.
Send a message
- Click New Chat.
- Select a model in the model list below the message box.
- Type your message.
- Click Send, or push Enter.
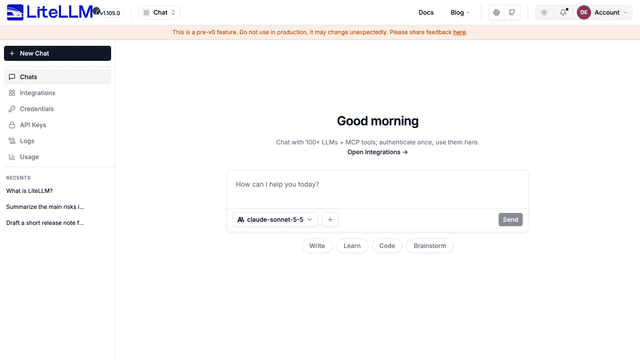
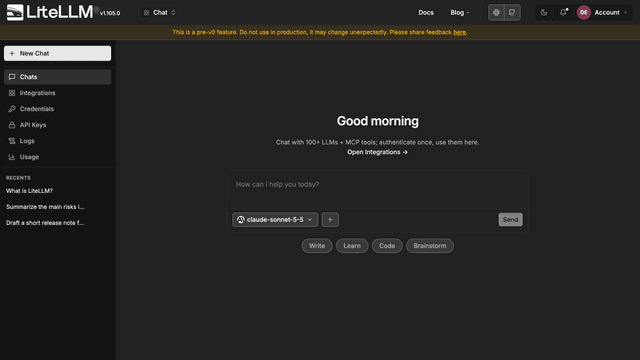
The model list shows only the models that your user can use. Type in the search box to find a model.
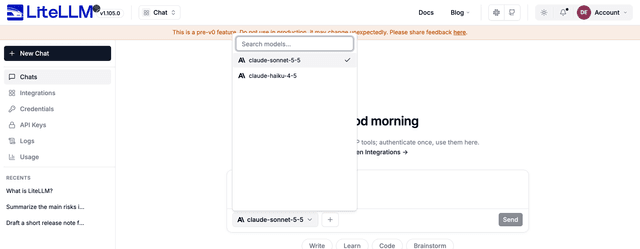
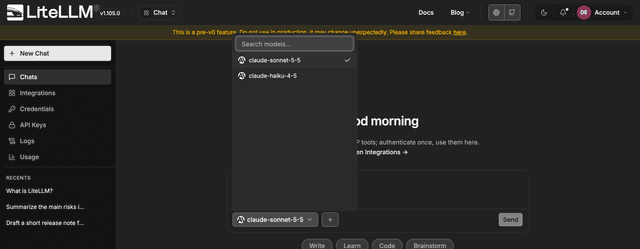
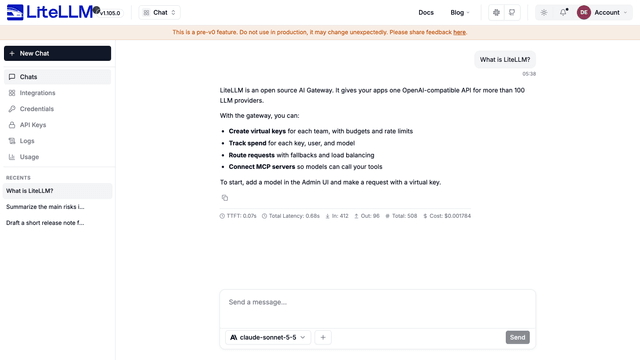
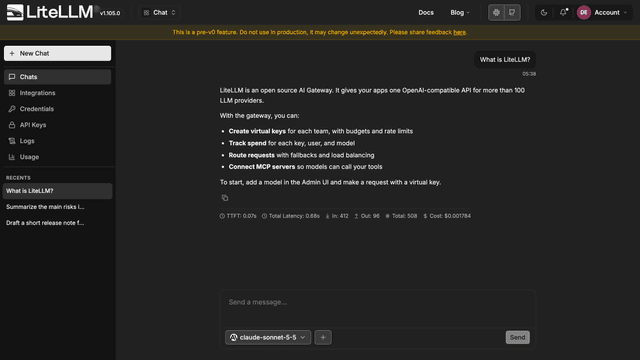
The Chat UI shows the response as the model sends it. Below each response, the Chat UI shows these metrics for the request:
- TTFT: the time to the first token
- Total Latency: the time for the full response
- In, Out, and Total: the input tokens, the output tokens, and the sum of these tokens
- Cost: the cost of the request
Chat history
The Chat UI keeps your chats in the local storage of your browser. The gateway does not keep the chats. The Recents list shows your chats. The title of each chat is the start of its first message.
Your browser keeps a maximum of 100 chats. When you start one more chat, the Chat UI deletes the chat with the oldest change. Chats from one browser do not show in a different browser or on a different computer. If you clear the data of your browser, the browser deletes your chats.
The gateway records each request in the logs. Refer to See your logs.
Use MCP tools in a chat
The Chat UI can give the tools of an MCP server to the model.
- Click + next to the model list.
- For each MCP server that you will use, set the switch to on.
- Send your message.
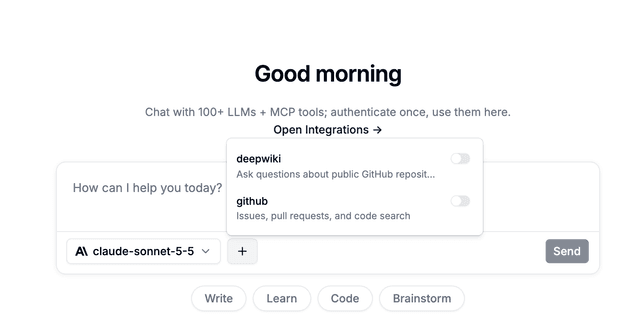
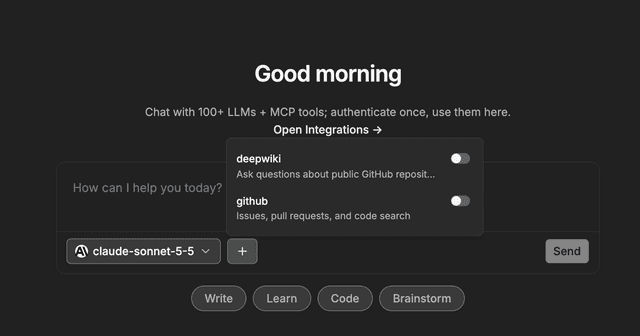
The model can then call the tools of the servers that you selected. The list shows only the MCP servers that your login can access. To give users access to an MCP server, refer to Grant access to MCP servers.
Connect to an MCP server with OAuth
Some MCP servers must have a sign-in for each user. For these servers, LiteLLM keeps one OAuth token for each user.
- Click Integrations.
- Find the MCP server. A server that must have a sign-in shows a Connect button.
- Click Connect.
- Sign in on the page of the provider.
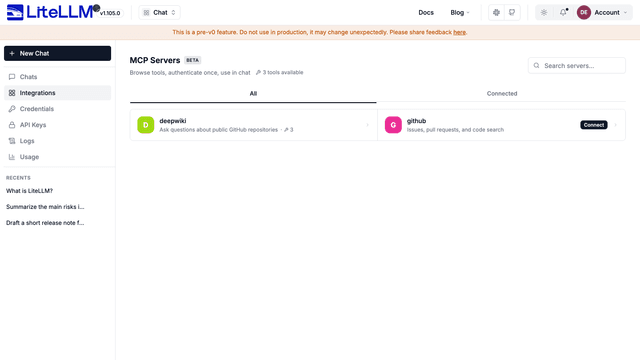
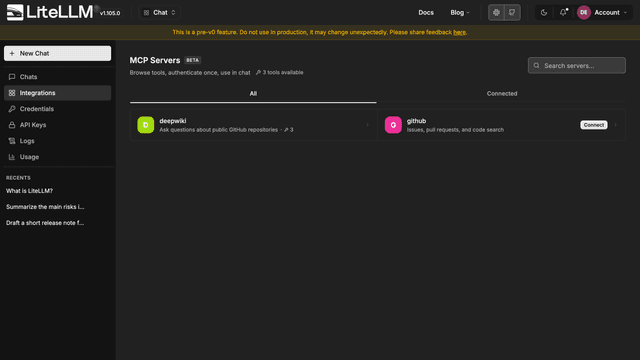
The All tab shows all the MCP servers that your login can access. Each server shows its number of tools. The Connected tab shows the servers that are on for your chats.
The Credentials page shows your OAuth connections. To remove a connection, click the delete icon (Revoke connection) on its row.
To show the Connect button for an MCP server, a proxy admin sets auth_type: oauth2 and oauth2_flow: authorization_code on the server:
mcp_servers:
  github:
    url: https://api.githubcopilot.com/mcp/
    transport: http
    auth_type: oauth2
    oauth2_flow: authorization_code
    description: Issues, pull requests, and code search
Set oauth2_flow on each MCP server that has auth_type: oauth2. If oauth2_flow is missing, the gateway does not start.
For the full OAuth settings, refer to MCP OAuth.
See your API keys
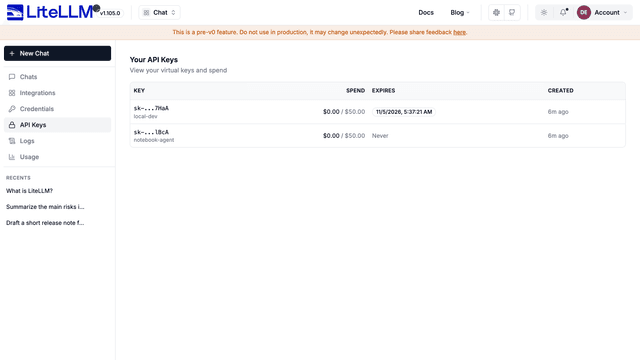
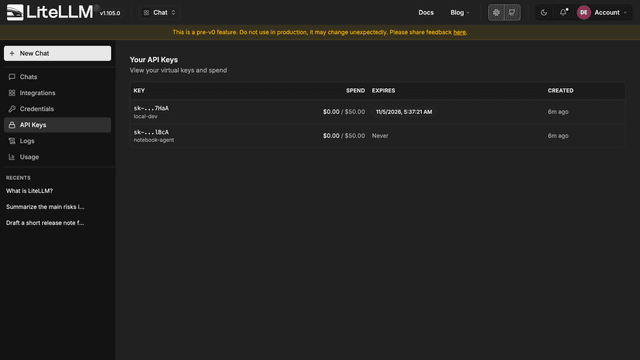
The API Keys page shows the virtual keys of your user. For each key, the page shows the spend, the budget, the expiry date, and the creation date.
On LiteLLM Enterprise, each key also has a Rotate button. Rotate makes a new secret value for the key.
See your logs
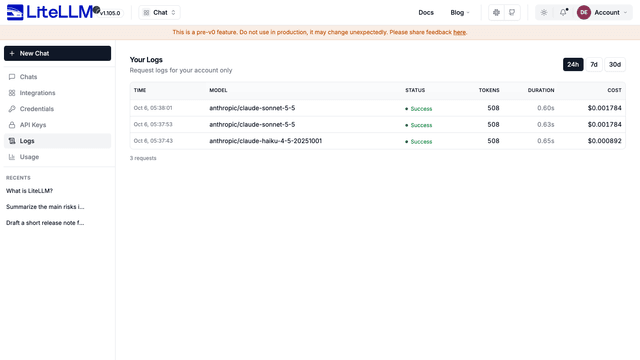
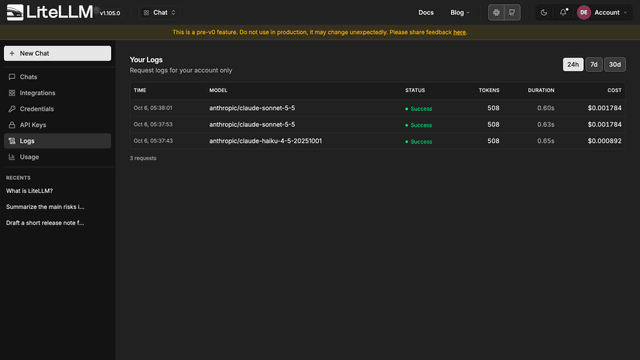
The Logs page shows only the requests of your user. Each row shows the time, the model, the status, the tokens, the duration, and the cost. Click 24h, 7d, or 30d to change the time range.
Click a row to see the details of the request. The details show the request body and the response body. To keep these bodies, set store_prompts_in_spend_logs: true in general_settings.
See your usage
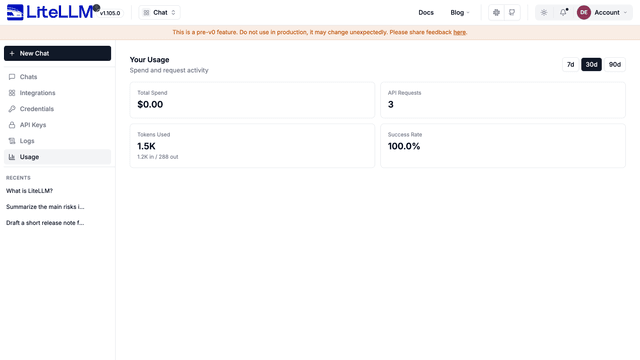
The Usage page shows your total spend, the number of API requests, the tokens, and the success rate. Click 7d, 30d, or 90d to change the time range.
Spend for Chat UI requests
The Chat UI sends each request with the login session of the user. LiteLLM records the spend of the request for that user. The spend does not go to the virtual keys of the user.
Chat UI and Playground
The Admin UI also has a Playground page. Use the Playground to do tests on models and to compare a maximum of 3 models side by side. The Chat UI keeps a chat history, connects to MCP servers, and shows your keys, logs, and usage.
For more information, refer to Model Compare Playground UI, MCP Overview, and Admin UI.

