AI Hub
Share models and agents with your organization. Show developers what's available without needing to rebuild them.
This feature is available in v1.74.3-stable and above.
Overview
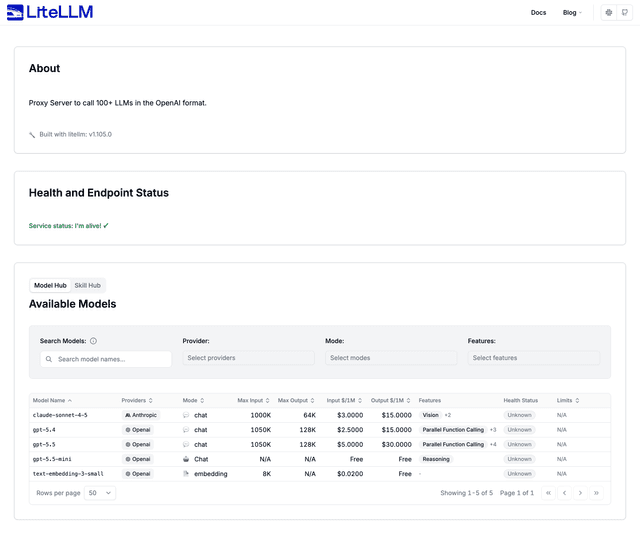
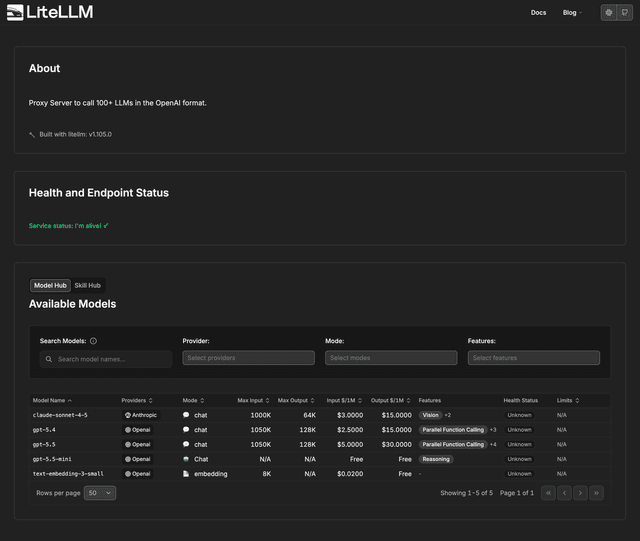
Admin can select models/agents to expose on public AI hub → Users go to the public url and see what's available.
Models
How to use
1. Go to the Admin UI
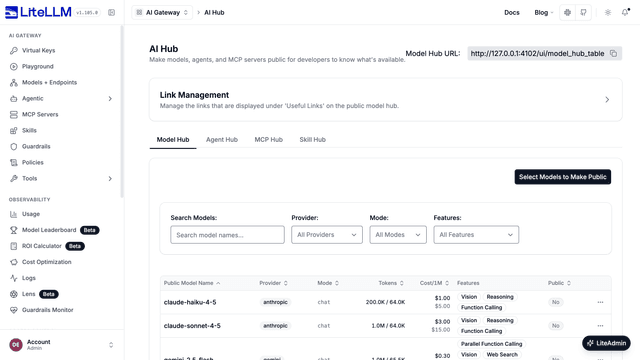
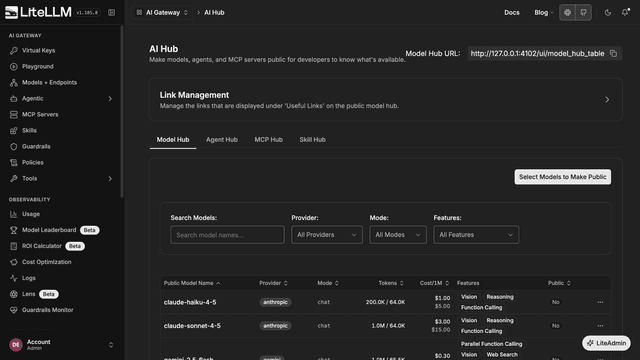
Navigate to the AI Hub page in the Admin UI (PROXY_BASE_URL/ui/?login=success&page=model-hub-table). The Model Hub tab lists your models and the Public column shows whether each one is public.
2. Select the models you want to expose
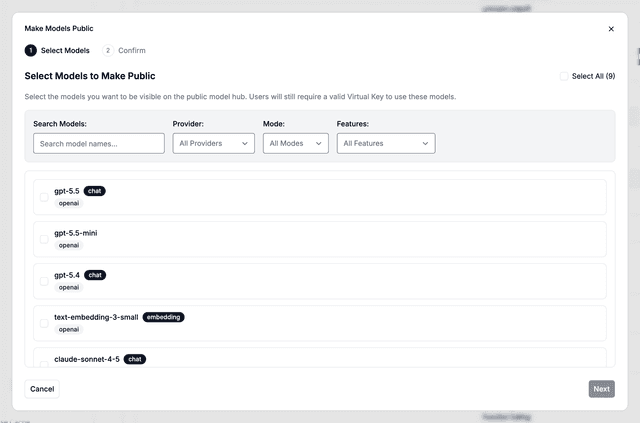
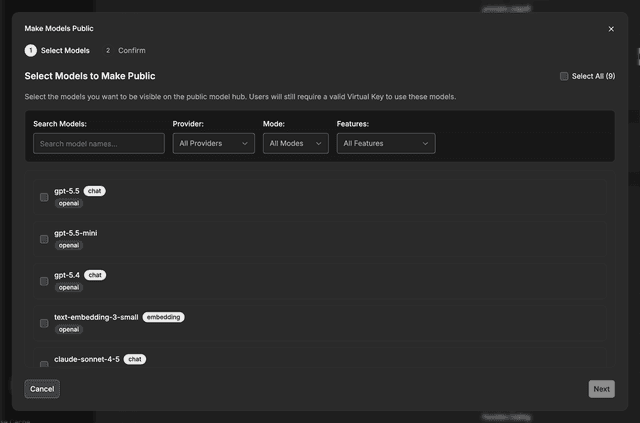
Click on Select Models to Make Public and select the models you want to expose, then click Next.
3. Confirm the changes
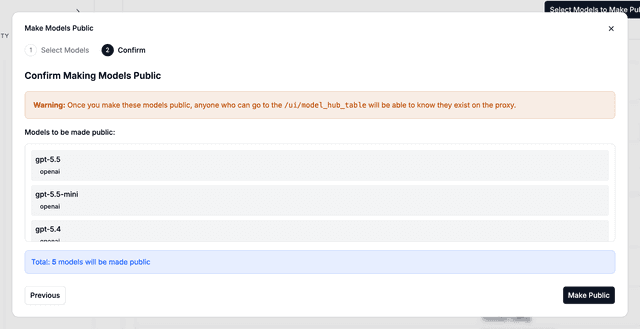
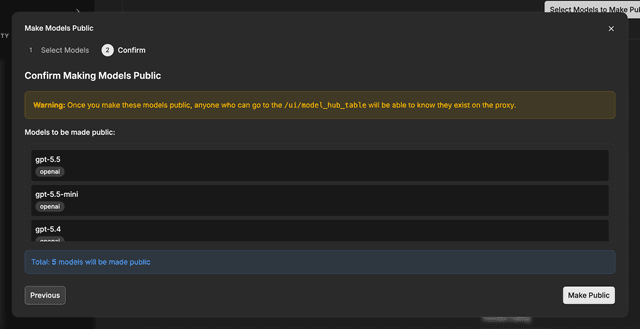
Review the list and click Make Public.
4. Success!
Go to the public url (PROXY_BASE_URL/ui/model_hub_table) and see available models.
API Endpoints
GET /public/model_hub– returns the list of public model groups. Requires a valid user API key.GET /public/model_hub/info– returns metadata (docs title, version, useful links) for the public model hub.
Agents
Agents are only available in v1.79.4-stable and above.
Share pre-built agents (A2A spec) across your organization. Users can discover and use agents without rebuilding them.
1. Create an agent
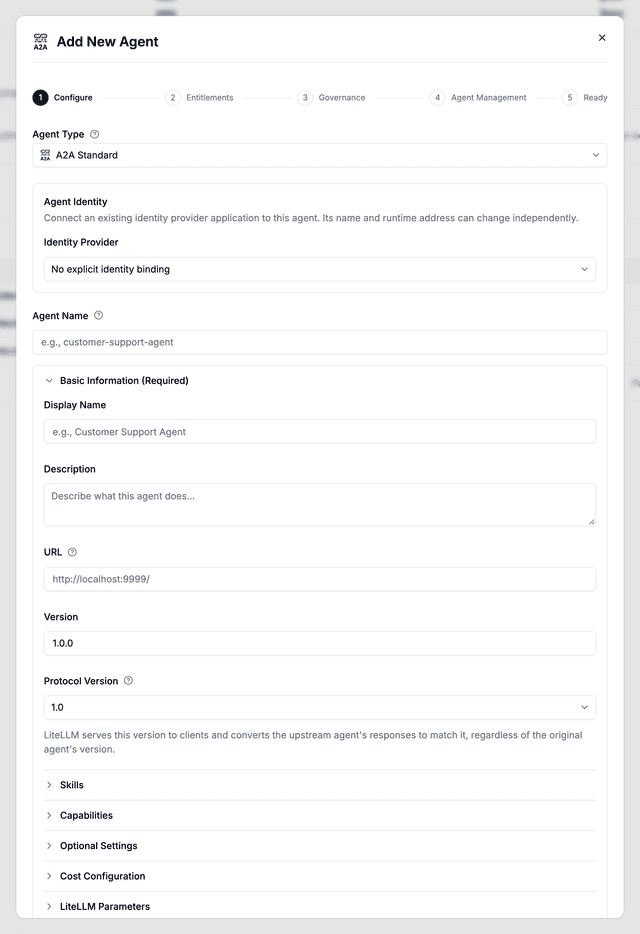
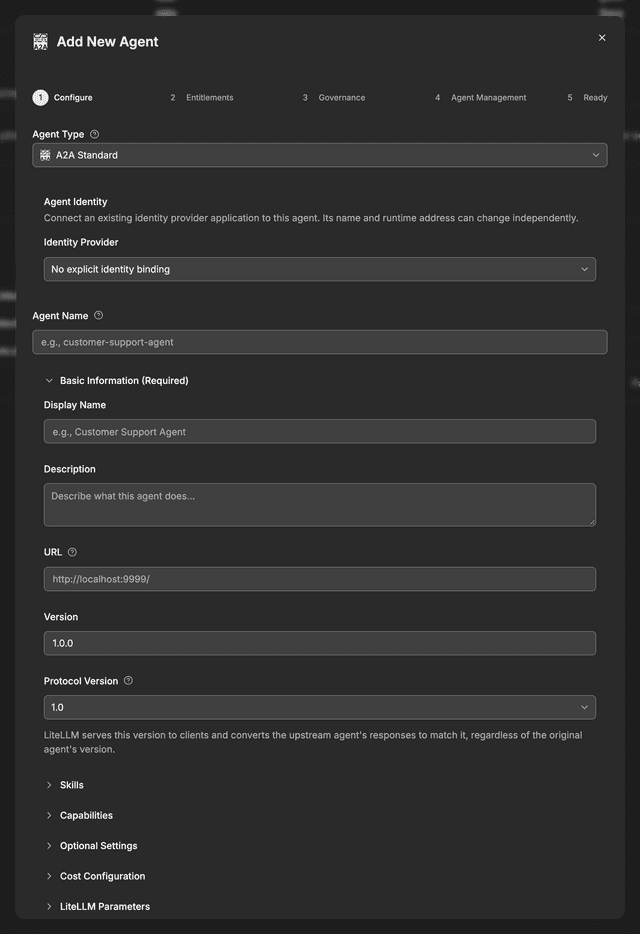
Create an agent that follows the A2A spec. In the Admin UI, go to Agentic > Agents and click Add New Agent.
- UI
- API
curl -X POST 'http://0.0.0.0:4000/v1/agents' \
--header 'Authorization: Bearer <your-master-key>' \
--header 'Content-Type: application/json' \
--data '{
  "agent_name": "hello-world-agent",
  "agent_card_params": {
    "protocolVersion": "1.0",
    "name": "Hello World Agent",
    "description": "Just a hello world agent",
    "url": "http://localhost:9999/",
    "version": "1.0.0",
    "defaultInputModes": ["text"],
    "defaultOutputModes": ["text"],
    "capabilities": {
      "streaming": true
    },
    "skills": [
      {
        "id": "hello_world",
        "name": "Returns hello world",
        "description": "just returns hello world",
        "tags": ["hello world"],
        "examples": ["hi", "hello world"]
      }
    ]
  }
}'
Expected Response
{
  "agent_id": "123e4567-e89b-12d3-a456-426614174000",
  "agent_name": "hello-world-agent",
  "agent_card_params": {
    "protocolVersion": "1.0",
    "name": "Hello World Agent",
    "description": "Just a hello world agent",
    "url": "http://localhost:9999/",
    "version": "1.0.0",
    "defaultInputModes": ["text"],
    "defaultOutputModes": ["text"],
    "capabilities": {
      "streaming": true
    },
    "skills": [
      {
        "id": "hello_world",
        "name": "Returns hello world",
        "description": "just returns hello world",
        "tags": ["hello world"],
        "examples": ["hi", "hello world"]
      }
    ]
  },
  "created_at": "2025-11-15T10:30:00Z",
  "created_by": "user123"
}
2. Make agent public
Make the agent discoverable on the AI Hub.
- UI
- API
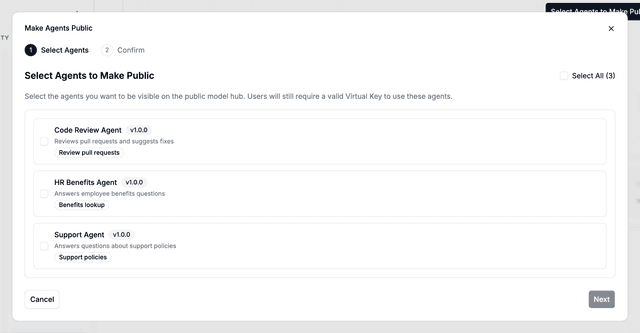
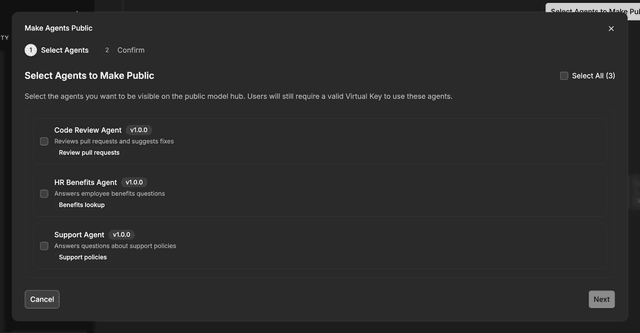
Navigate to the AI Hub page and select the Agent Hub tab.
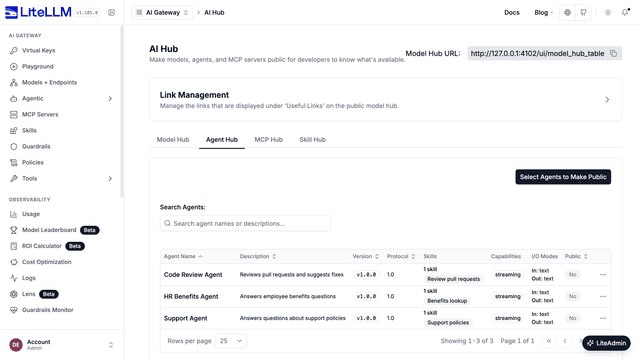
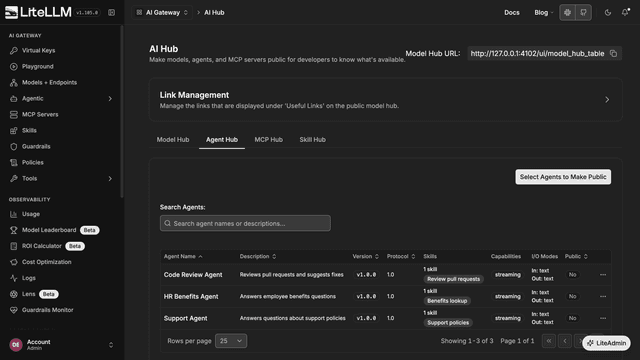
Click on Select Agents to Make Public, select the agents you want to expose, and click Next, then Make Public.
Option 1: Make single agent public
curl -X POST 'http://0.0.0.0:4000/v1/agents/123e4567-e89b-12d3-a456-426614174000/make_public' \
--header 'Authorization: Bearer <your-master-key>' \
--header 'Content-Type: application/json'
Option 2: Make multiple agents public
curl -X POST 'http://0.0.0.0:4000/v1/agents/make_public' \
--header 'Authorization: Bearer <your-master-key>' \
--header 'Content-Type: application/json' \
--data '{
  "agent_ids": [
    "123e4567-e89b-12d3-a456-426614174000",
    "123e4567-e89b-12d3-a456-426614174001"
  ]
}'
Expected Response
{
  "message": "Successfully updated public agent groups",
  "public_agent_groups": [
    "123e4567-e89b-12d3-a456-426614174000"
  ],
  "updated_by": "user123"
}
3. View public agents
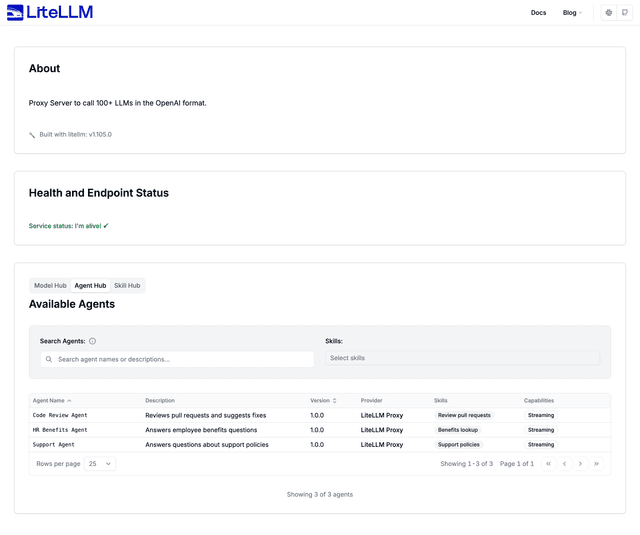
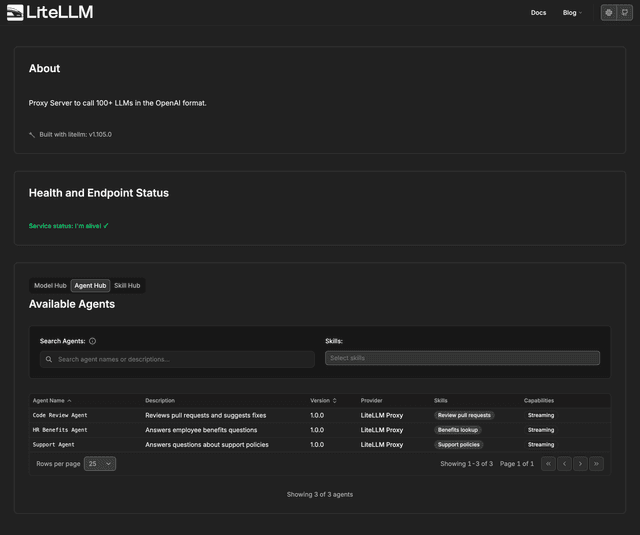
Users can now discover the agent via the public endpoint.
- UI
- API
curl -X GET 'http://0.0.0.0:4000/public/agent_hub' \
--header 'Authorization: Bearer <user-api-key>'
Expected Response
[
  {
    "protocolVersion": "1.0",
    "name": "Hello World Agent",
    "description": "Just a hello world agent",
    "url": "http://localhost:9999/",
    "version": "1.0.0",
    "defaultInputModes": ["text"],
    "defaultOutputModes": ["text"],
    "capabilities": {
      "streaming": true
    },
    "skills": [
      {
        "id": "hello_world",
        "name": "Returns hello world",
        "description": "just returns hello world",
        "tags": ["hello world"],
        "examples": ["hi", "hello world"]
      }
    ]
  }
]
MCP Servers
How to use
1. Add MCP Server
Go here for instructions: MCP Overview
2. Make MCP server public
- UI
- API
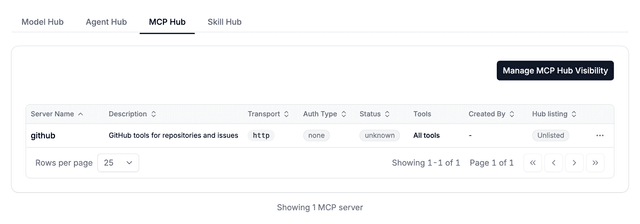
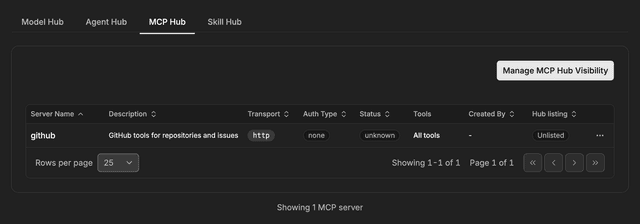
Navigate to the AI Hub page (PROXY_BASE_URL/ui/?login=success&page=model-hub-table) and select the MCP Hub tab. Click on Manage MCP Hub Visibility, select the servers you want to expose, click Next, then Save Publication List.
curl -L -X POST 'http://localhost:4000/v1/mcp/make_public' \
-H "Authorization: Bearer $LITELLM_API_KEY" \
-H 'Content-Type: application/json' \
-d '{"mcp_server_ids":["e856f9a3-abc6-45b1-9d06-62fa49ac293d"]}'
3. View public MCP servers
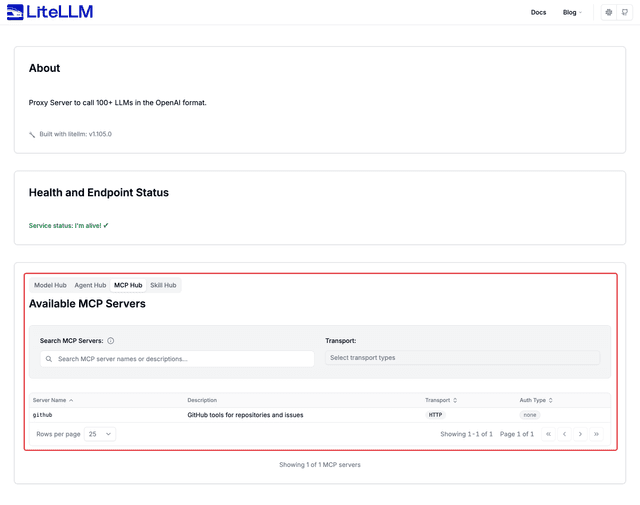
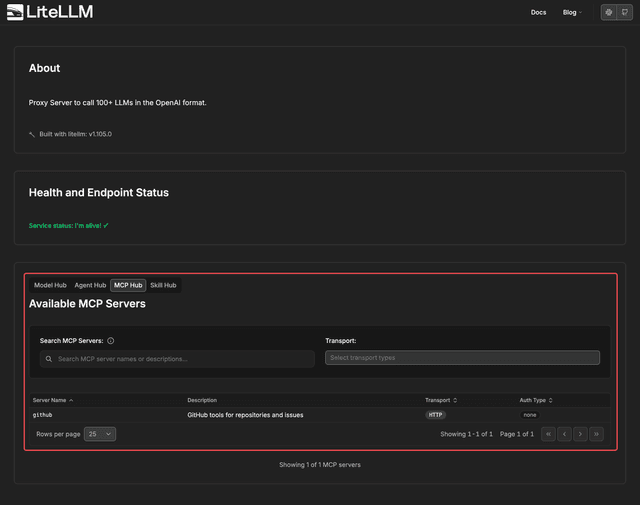
Users can now discover the MCP server via the public endpoint (PROXY_BASE_URL/ui/model_hub_table)
- UI
- API
curl -L -X GET 'http://0.0.0.0:4000/public/mcp_hub' \
-H "Authorization: Bearer $LITELLM_API_KEY"
Expected Response
[
    {
        "server_id": "e856f9a3-abc6-45b1-9d06-62fa49ac293d",
        "name": "deepwiki-mcp",
        "alias": null,
        "server_name": "deepwiki-mcp",
        "url": "https://mcp.deepwiki.com/mcp",
        "transport": "http",
        "spec_path": null,
        "auth_type": "none",
        "mcp_info": {
            "server_name": "deepwiki-mcp",
            "description": "free mcp server "
        }
    },
    {
        "server_id": "a634819f-3f93-4efc-9108-e49c5b83ad84",
        "name": "deepwiki_2",
        "alias": "deepwiki_2",
        "server_name": "deepwiki_2",
        "url": "https://mcp.deepwiki.com/mcp",
        "transport": "http",
        "spec_path": null,
        "auth_type": "none",
        "mcp_info": {
            "server_name": "deepwiki_2",
            "mcp_server_cost_info": null
        }
    },
    {
        "server_id": "33f950e4-2edb-41fa-91fc-0b9581269be6",
        "name": "edc_mcp_server",
        "alias": "edc_mcp_server",
        "server_name": "edc_mcp_server",
        "url": "http://lelvdckdputildev.itg.ti.com:8085/api/mcp",
        "transport": "http",
        "spec_path": null,
        "auth_type": "none",
        "mcp_info": {
            "server_name": "edc_mcp_server",
            "mcp_server_cost_info": null
        }
    }
]

