Customize UI Logo
Personalize your LiteLLM dashboard by replacing the default logo with your own company branding. You can set a custom logo via the UI or the API.
Via the UI
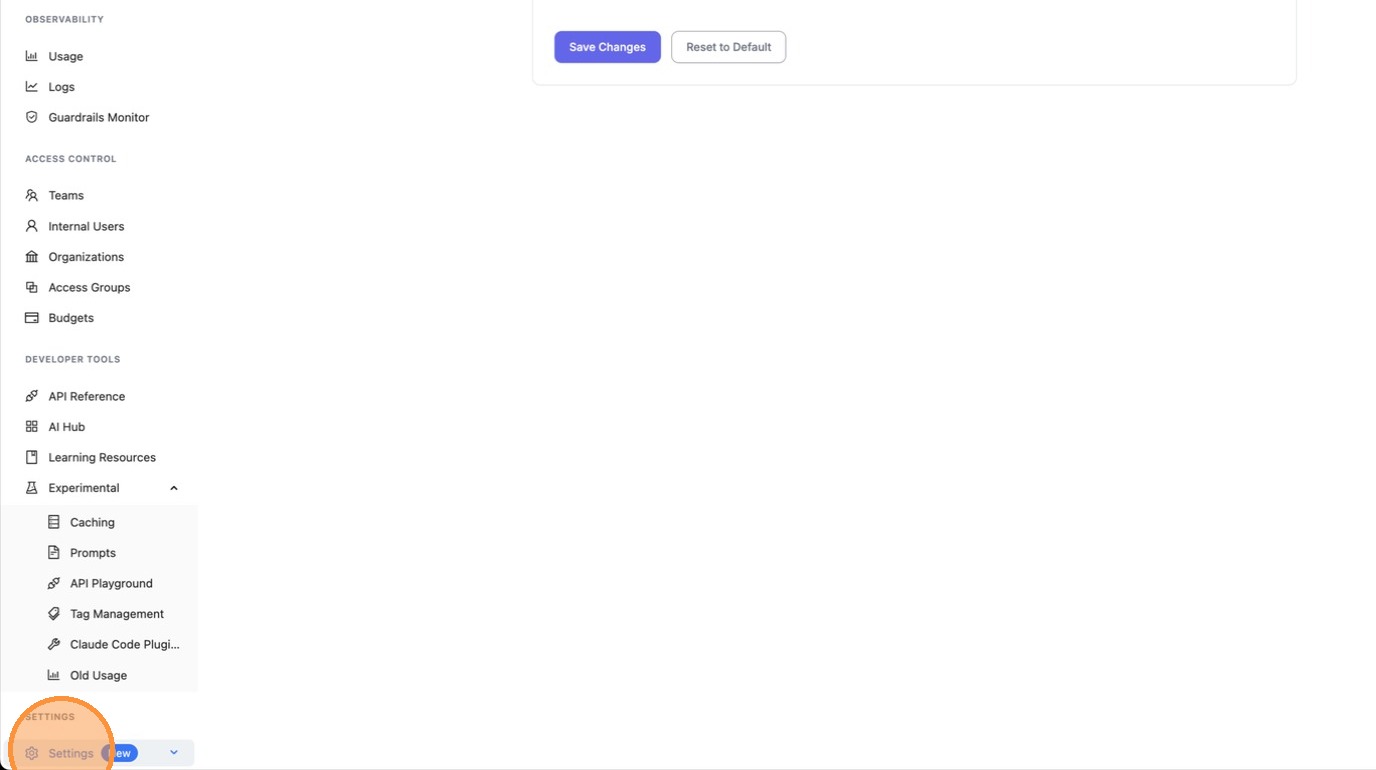
1. Navigate to Settings
Click the Settings icon in the sidebar.
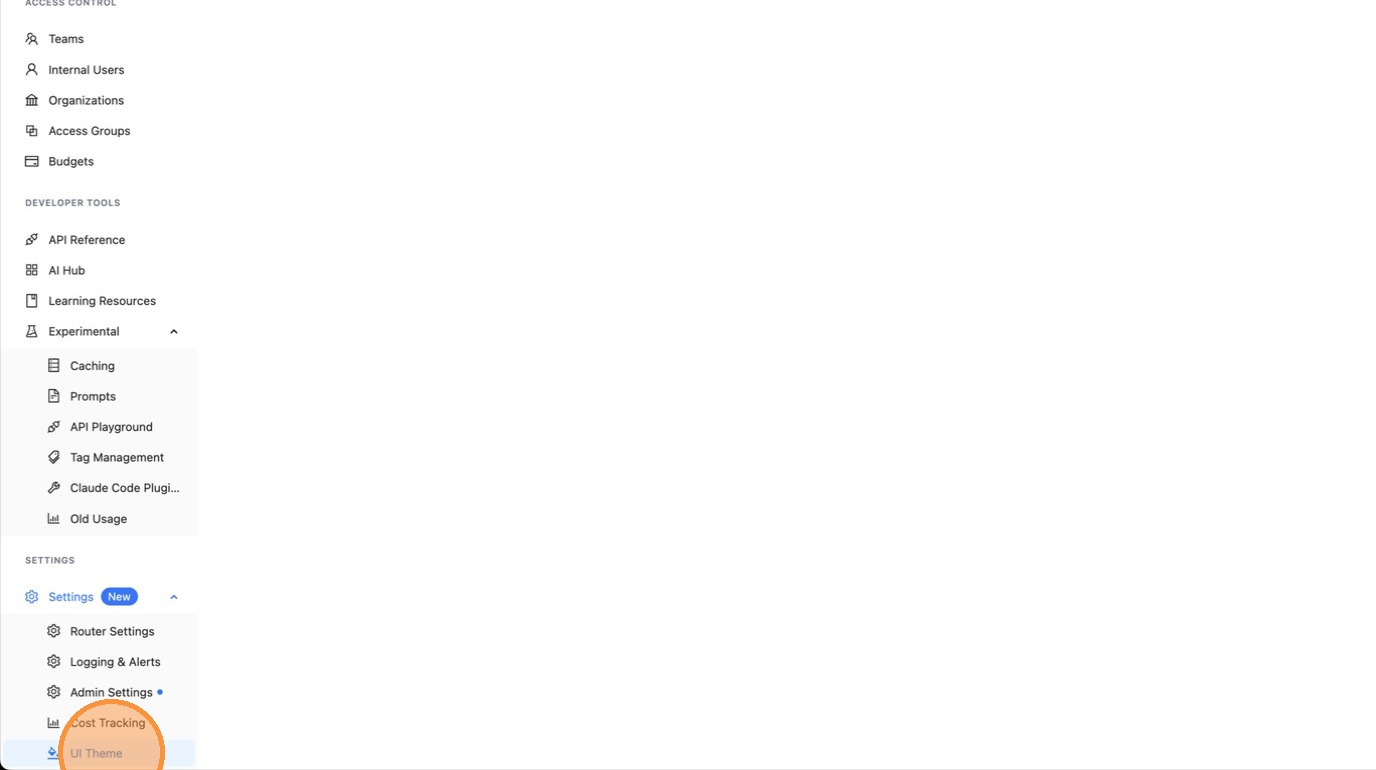
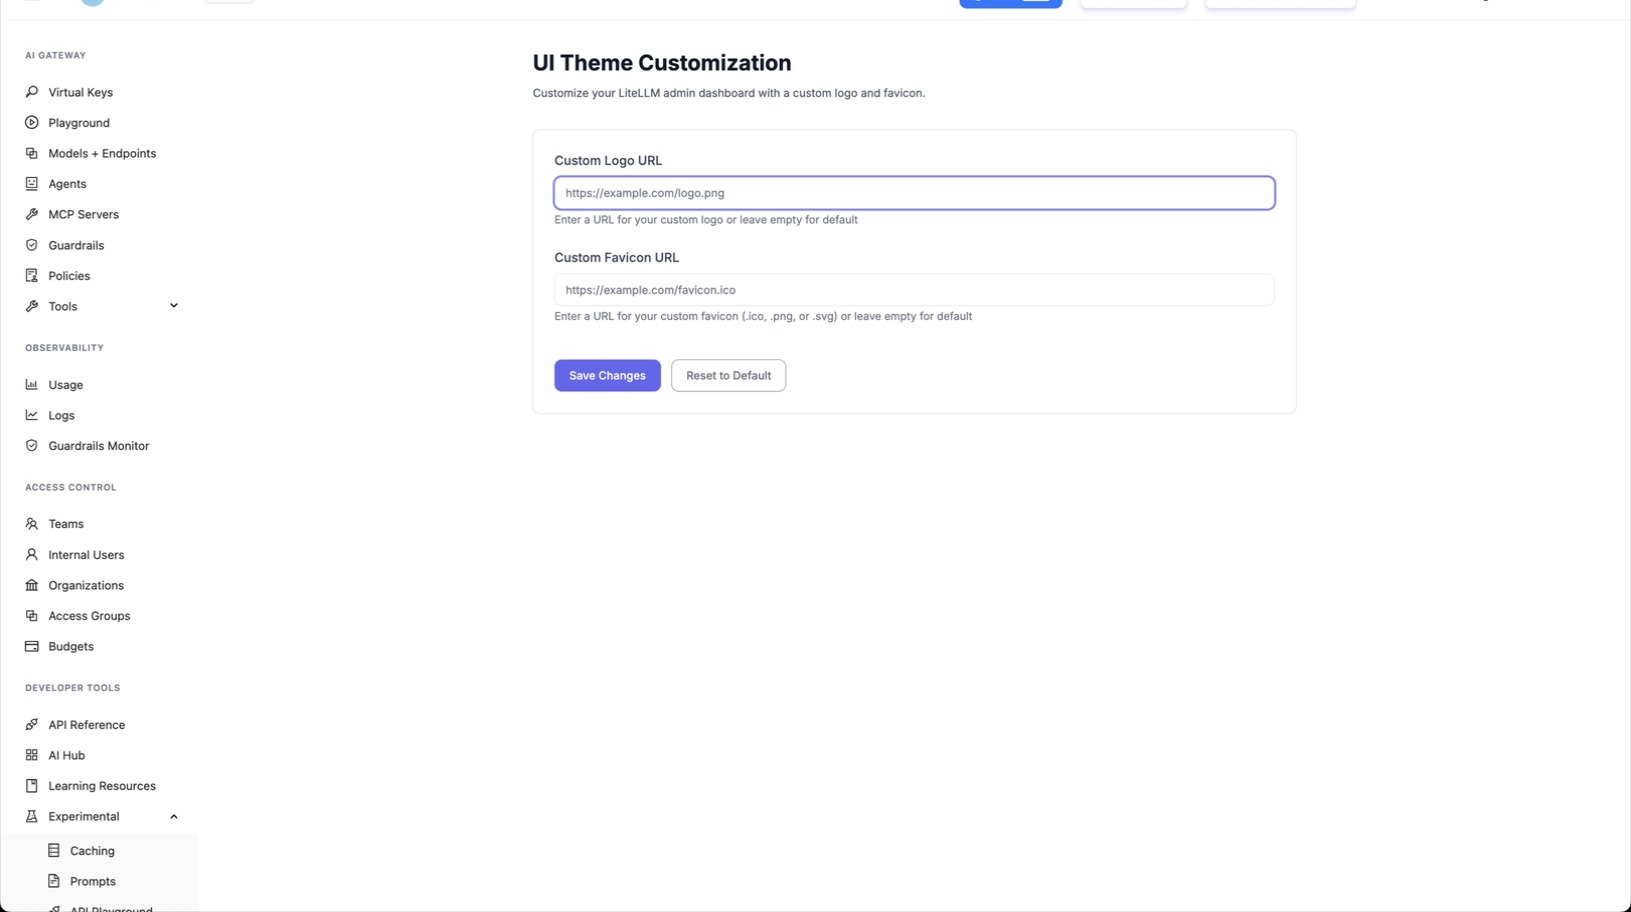
2. Open UI Theme Settings
Click UI Theme from the settings menu.
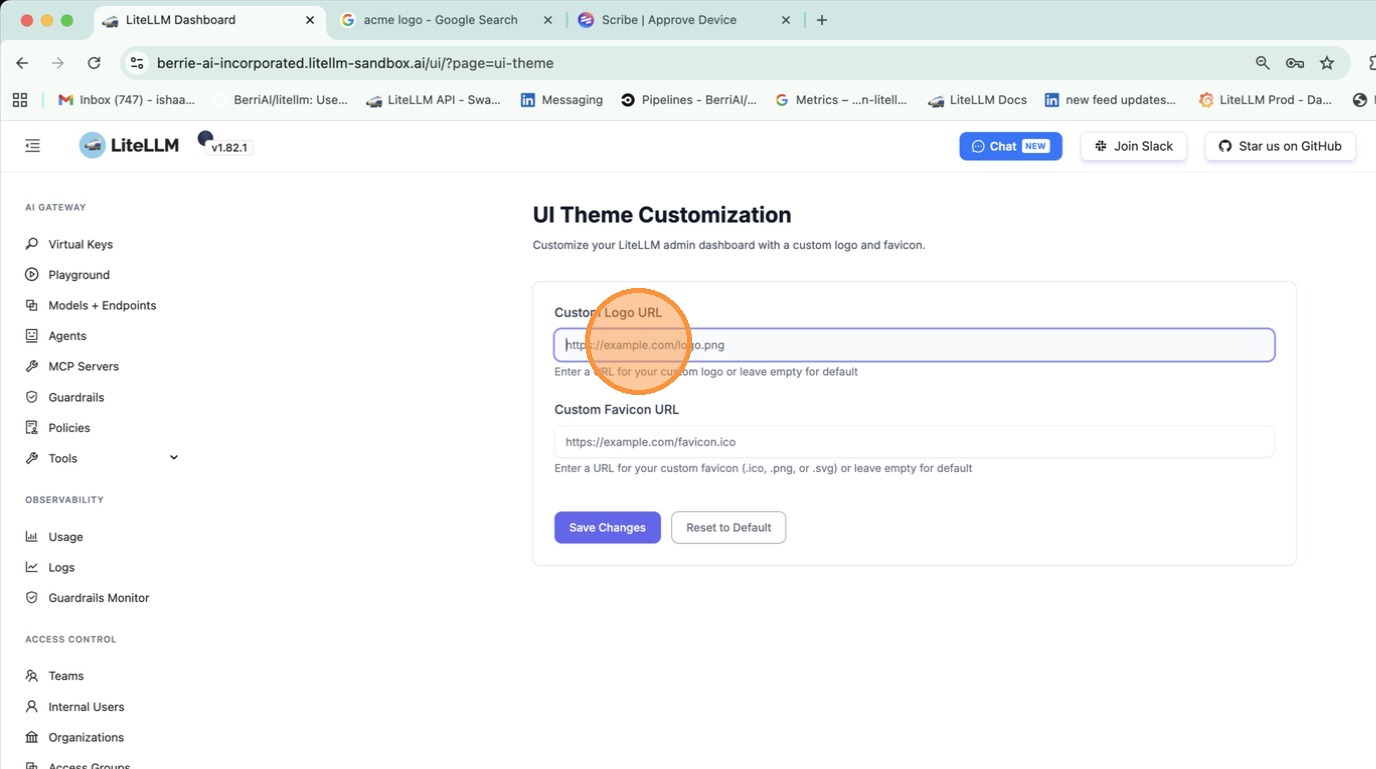
3. Click the Logo URL Field
Click the Logo URL text field to start editing.
4. Find Your Logo Image
Open a new browser tab and find the logo image you want to use (e.g., search Google Images for your company logo).

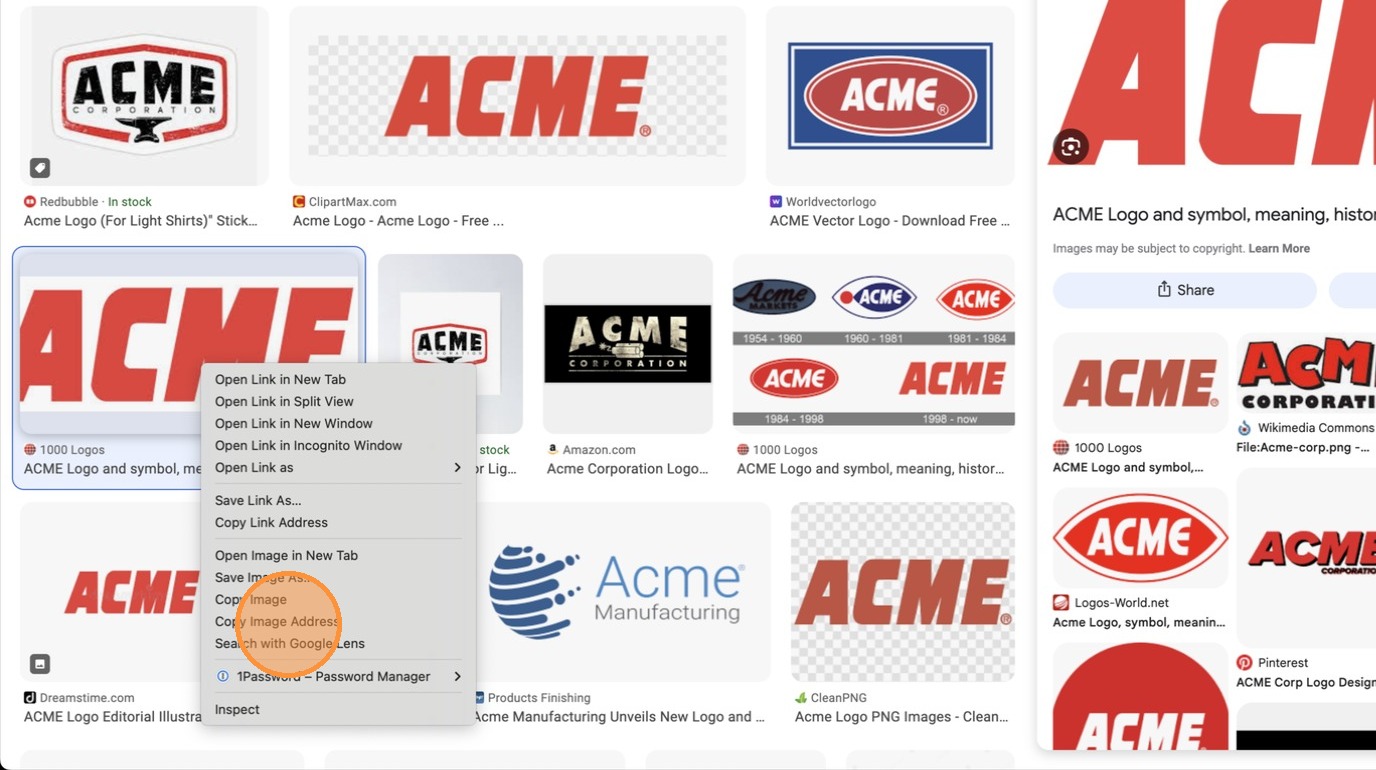
5. Right-Click on the Logo Image
Right-click the image you want to use as your logo.

6. Copy the Image Address
Select Copy Image Address from the context menu to copy the URL.
7. Switch Back to LiteLLM
Navigate back to the LiteLLM UI tab (e.g., press Cmd + Left or click the tab).

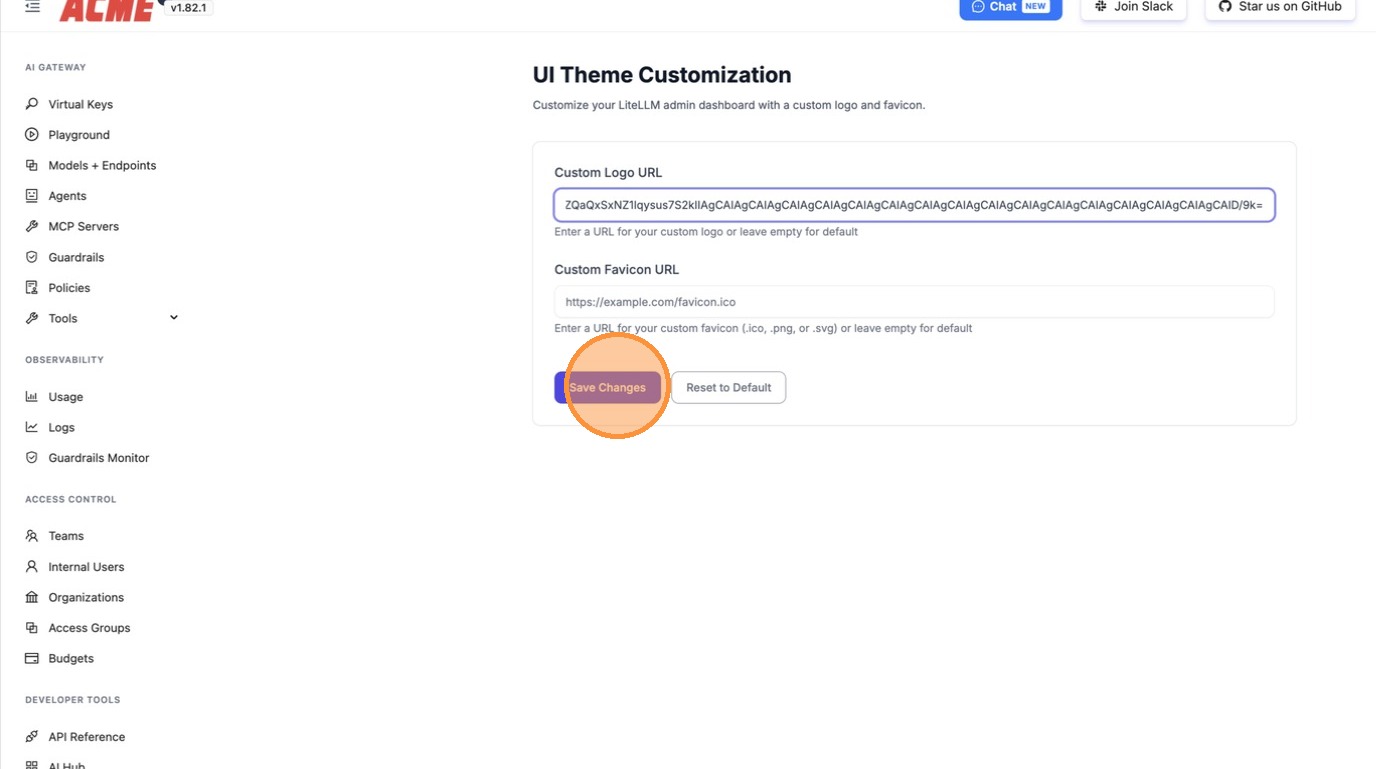
8. Paste the Logo URL
Paste the copied image URL into the Logo URL field with Cmd + V.
9. Save Changes
Click Save Changes to apply your new logo.
Your custom logo will now appear in the LiteLLM dashboard sidebar and login page.
Via the API
Set a Custom Logo
curl -X PATCH 'http://localhost:4000/settings/update/ui_theme_settings' \
  -H 'Authorization: Bearer <your-admin-key>' \
  -H 'Content-Type: application/json' \
  -d '{
    "logo_url": "https://example.com/your-company-logo.png"
  }'
Set a Custom Favicon
You can also customize the browser tab favicon:
curl -X PATCH 'http://localhost:4000/settings/update/ui_theme_settings' \
  -H 'Authorization: Bearer <your-admin-key>' \
  -H 'Content-Type: application/json' \
  -d '{
    "logo_url": "https://example.com/your-company-logo.png",
    "favicon_url": "https://example.com/your-favicon.ico"
  }'
Get Current Theme Settings
curl -X GET 'http://localhost:4000/settings/get/ui_theme_settings'
Reset to Default Logo
Send an empty logo_url to restore the default LiteLLM logo:
curl -X PATCH 'http://localhost:4000/settings/update/ui_theme_settings' \
  -H 'Authorization: Bearer <your-admin-key>' \
  -H 'Content-Type: application/json' \
  -d '{
    "logo_url": ""
  }'
Via proxy_config.yaml
You can also set the logo URL in your proxy configuration file:
litellm_settings:
  ui_theme_config:
    logo_url: "https://example.com/your-company-logo.png"
    favicon_url: "https://example.com/your-favicon.ico"  # optional
Or set it as an environment variable:
environment_variables:
  UI_LOGO_PATH: "https://example.com/your-company-logo.png"
Supported Logo Formats
| Format | Supported |
|---|---|
| JPEG / JPG | Yes |
| PNG | Yes |
| SVG | Yes |
| ICO (favicon only) | Yes |
| HTTP/HTTPS URL | Yes |
| Local file path | Yes |