Using Claude Code Max Subscription
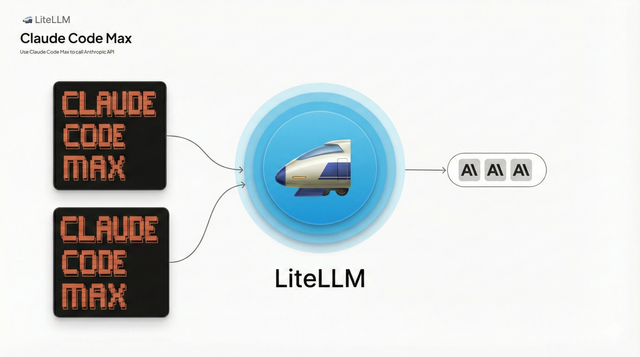
Route Claude Code Max subscription traffic through LiteLLM AI Gateway.
Why Claude Code Max over direct API?
- Lower costs — Claude Code Max subscriptions are cheaper for Claude Code power users than per-token API pricing
Why route through LiteLLM?
- Cost attribution — Track spend per user, team, or key
- Budgets & rate limits — Set spending caps and request limits
- Guardrails — Apply content filtering and safety controls to all requests
Quick Start Video
Watch the end-to-end walkthrough of setting up Claude Code with LiteLLM Gateway:
Prerequisites
- Claude Code installed
- Claude Max subscription
- LiteLLM Gateway running
Step 1: Configure LiteLLM Proxy
Create a config.yaml with the critical forward_client_headers_to_llm_api: true setting:
model_list:
  - model_name: anthropic-claude
    litellm_params:
      model: anthropic/claude-sonnet-4-20250514

  - model_name: claude-3-5-sonnet-20241022
    litellm_params:
      model: anthropic/claude-3-5-sonnet-20241022

  - model_name: claude-3-5-haiku-20241022
    litellm_params:
      model: anthropic/claude-3-5-haiku-20241022

general_settings:
  forward_client_headers_to_llm_api: true  # Required: forwards OAuth token to Anthropic

litellm_settings:
  master_key: os.environ/LITELLM_MASTER_KEY
forward_client_headers_to_llm_api?This setting forwards the user's OAuth token (in the Authorization header) through LiteLLM to the Anthropic API, enabling per-user authentication with their Max subscription while LiteLLM handles tracking and controls.
Step 2: Start LiteLLM Proxy
litellm --config /path/to/config.yaml

# RUNNING on http://0.0.0.0:4000
Walkthrough
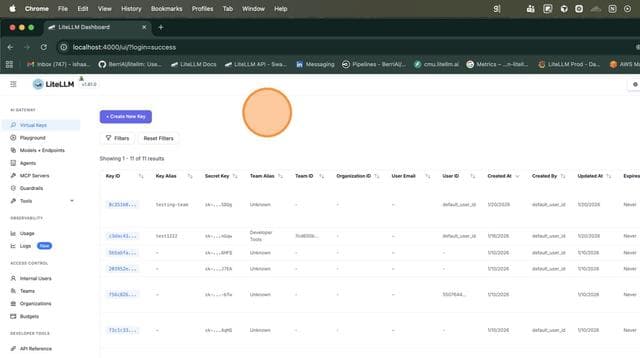
Part 1: Create a Virtual Key in LiteLLM
Navigate to the LiteLLM Dashboard and create a new virtual key for Claude Code usage.
1.1 Open Virtual Keys Page
Navigate to the Virtual Keys section in the LiteLLM Dashboard.
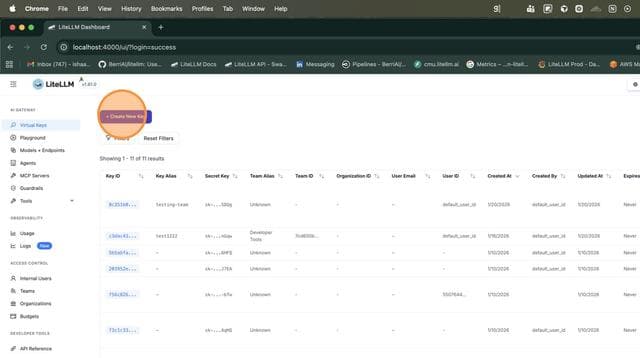
1.2 Click "Create New Key"
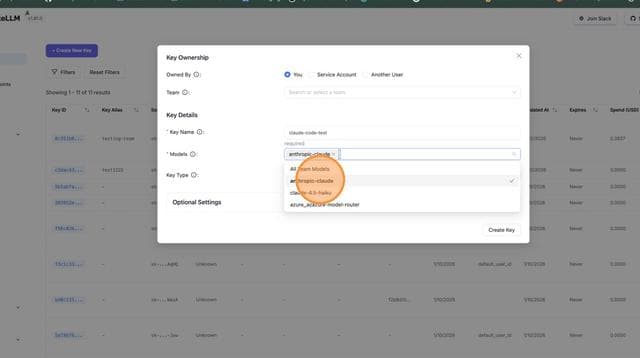
1.3 Configure Key Details
Enter a key name (e.g., claude-code-test) and select the models you want to allow access to.
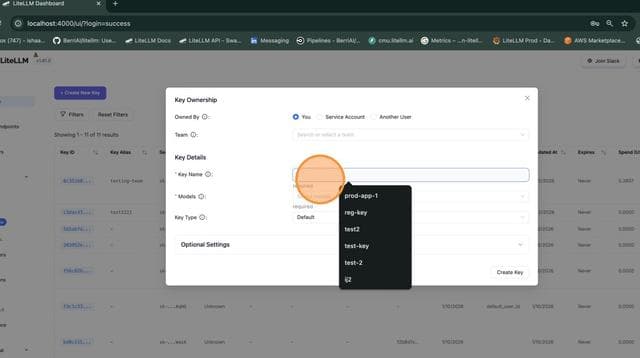
1.4 Select Models
Choose the Anthropic models that should be accessible via this key (e.g., anthropic-claude, claude-4.5-haiku).
1.5 Confirm Model Selection
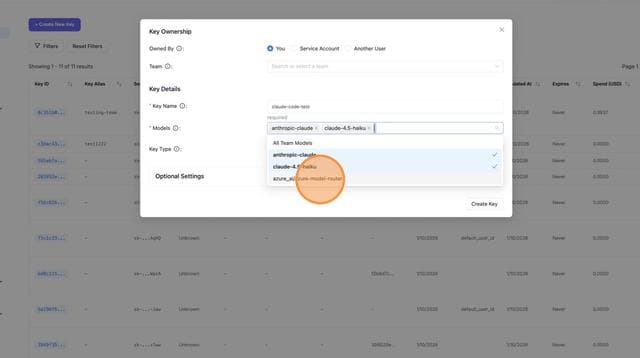
1.6 Create the Key
Click "Create Key" to generate your virtual key. Copy the generated key value (e.g., sk-otsclFlEblQ-6D60ua2IZg).

Part 2: Sign into Claude Code Max Plan (Client Side)
Set up Claude Code environment variables and authenticate with your Max subscription.
2.1 Set Environment Variables
Configure Claude Code to use LiteLLM Gateway with your virtual key:
export ANTHROPIC_BASE_URL=http://localhost:4000
export ANTHROPIC_MODEL="anthropic-claude"
export ANTHROPIC_CUSTOM_HEADERS="x-litellm-api-key: Bearer sk-otsclFlEblQ-6D60ua2IZg"

Environment Variables Explained
| Variable | Description |
|---|---|
ANTHROPIC_BASE_URL | Points Claude Code to your LiteLLM Gateway endpoint |
ANTHROPIC_MODEL | The model name configured in your LiteLLM config.yaml |
ANTHROPIC_CUSTOM_HEADERS | The x-litellm-api-key header for LiteLLM authentication |
2.2 Launch Claude Code
Start Claude Code:
claude
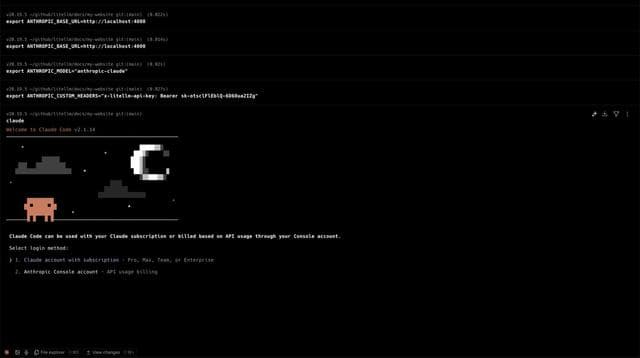
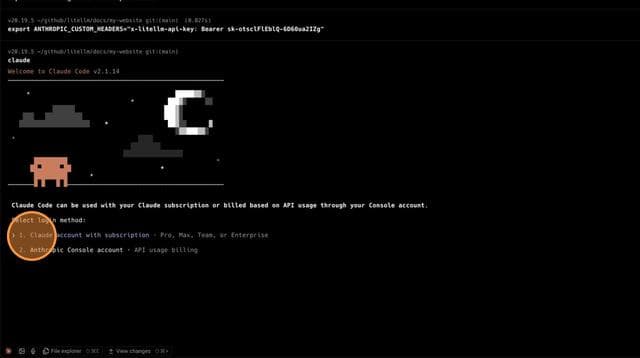
2.3 Select Login Method
Choose "Claude account with subscription" (Pro, Max, Team, or Enterprise).
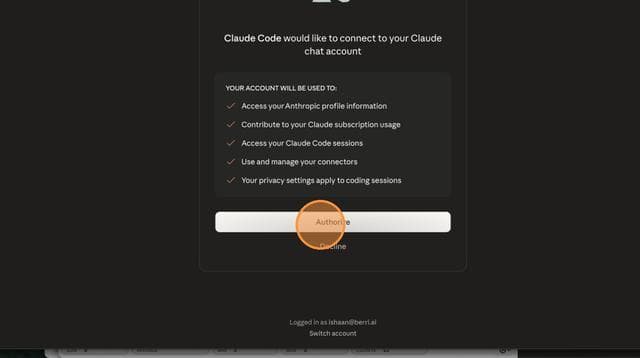
2.4 Authorize in Browser
Claude Code opens your browser to authenticate. Click "Authorize" to connect your Claude Max account.
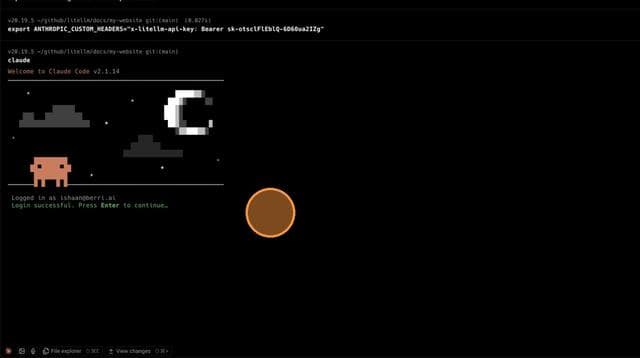
2.5 Login Successful
After authorization, you'll see the login success confirmation.
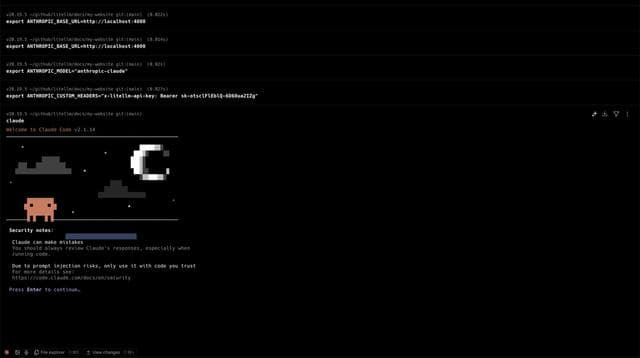
2.6 Complete Setup
Press Enter to continue past the security notes and complete the setup.
Part 3: Use Claude Code with LiteLLM
Now you can use Claude Code normally, and all requests will be tracked in LiteLLM.
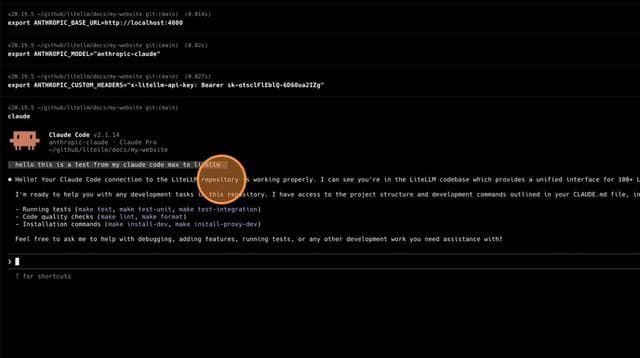
3.1 Make a Request in Claude Code
Start using Claude Code - requests will flow through LiteLLM Gateway.
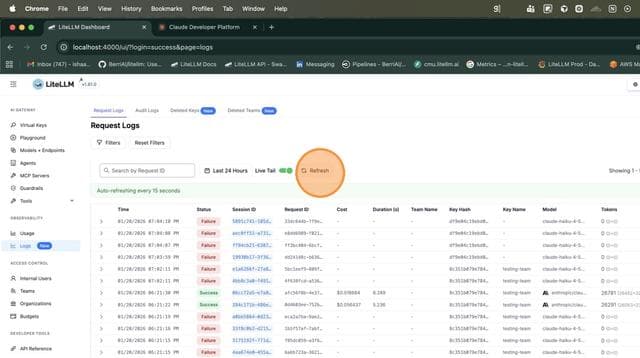
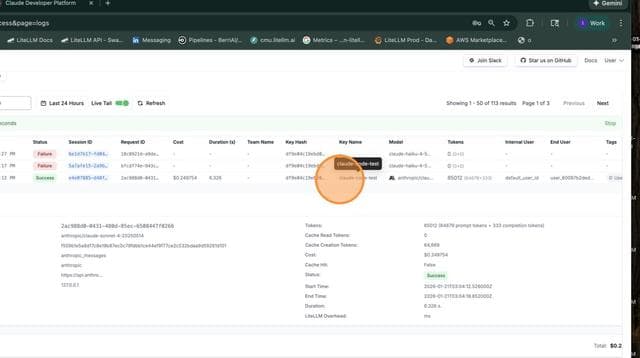
3.2 View Logs in LiteLLM Dashboard
Navigate to the Logs page in LiteLLM Dashboard to see all Claude Code requests.
3.3 View Request Details
Click on a request to see detailed information including tokens, cost, duration, and model used.
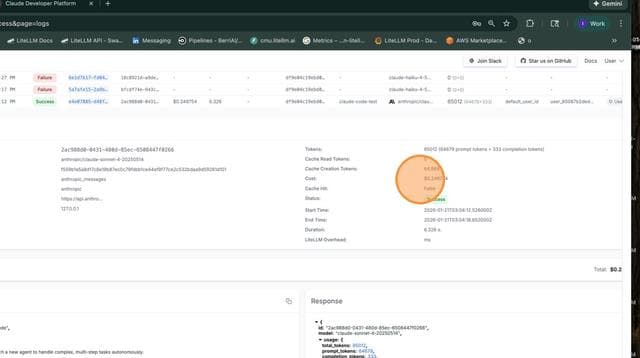
The logs show:
- Key Name:
claude-code-test(the virtual key you created) - Model:
anthropic/claude-sonnet-4-20250514 - Tokens: 65012 (64679 prompt + 333 completion)
- Cost: $0.249754
- Status: Success
How It Works
LiteLLM Gateway handles two types of authentication:
x-litellm-api-key: Authenticates the request with LiteLLM (usage tracking, budgets, rate limits)- OAuth Token (via
Authorizationheader): Forwarded to Anthropic API for Claude Max authentication
Header Flow
| Header | Purpose | Handled By |
|---|---|---|
x-litellm-api-key | LiteLLM Gateway authentication, budget tracking, rate limits | LiteLLM |
Authorization: Bearer {oauth_token} | Claude Max subscription authentication | Anthropic API |
Complete Request Flow Example
Here's what a typical request looks like when Claude Code makes a call through LiteLLM:
curl -X POST "http://localhost:4000/v1/messages" \
  -H "x-litellm-api-key: Bearer sk-otsclFlEblQ-6D60ua2IZg" \
  -H "Authorization: Bearer oauth_token_from_max_plan" \
  -H "Content-Type: application/json" \
  -d '{
    "model": "anthropic-claude",
    "max_tokens": 1024,
    "messages": [{"role": "user", "content": "Hello, Claude!"}]
  }'
LiteLLM then:
- Validates
x-litellm-api-keyfor gateway access - Logs the request for usage tracking
- Forwards the request to Anthropic with the OAuth
Authorizationheader (because offorward_client_headers_to_llm_api: true)
Advanced Configuration
Per-Model Header Forwarding
For more granular control, you can enable header forwarding only for specific models:
model_list:
  - model_name: anthropic-claude
    litellm_params:
      model: anthropic/claude-sonnet-4-20250514

  - model_name: claude-3-5-haiku-20241022
    litellm_params:
      model: anthropic/claude-3-5-haiku-20241022

litellm_settings:
  master_key: os.environ/LITELLM_MASTER_KEY
  model_group_settings:
    forward_client_headers_to_llm_api:
      - anthropic-claude
      - claude-3-5-haiku-20241022
Budget Controls
Set up per-user budgets while using Max subscriptions:
model_list:
  - model_name: anthropic-claude
    litellm_params:
      model: anthropic/claude-sonnet-4-20250514

general_settings:
  forward_client_headers_to_llm_api: true
  database_url: "postgresql://..."

litellm_settings:
  master_key: os.environ/LITELLM_MASTER_KEY
Then create virtual keys with budgets:
curl -X POST "http://localhost:4000/key/generate" \
  -H "Authorization: Bearer $LITELLM_MASTER_KEY" \
  -H "Content-Type: application/json" \
  -d '{
    "key_alias": "developer-1",
    "max_budget": 100.00,
    "budget_duration": "monthly"
  }'
Troubleshooting
OAuth Token Not Being Forwarded
Symptom: Authentication errors from Anthropic API
Solution: Ensure forward_client_headers_to_llm_api: true is set in your config:
general_settings:
  forward_client_headers_to_llm_api: true
LiteLLM Authentication Failing
Symptom: 401 errors from LiteLLM Gateway
Solution: Verify x-litellm-api-key header is set correctly in ANTHROPIC_CUSTOM_HEADERS:
curl -X GET "http://localhost:4000/key/info" \
  -H "Authorization: Bearer sk-otsclFlEblQ-6D60ua2IZg"
Model Not Found
Symptom: Model not found errors
Solution: Ensure the ANTHROPIC_MODEL matches a model name in your config:
curl "http://localhost:4000/v1/models" \
  -H "Authorization: Bearer sk-otsclFlEblQ-6D60ua2IZg"
Related Documentation
- Forward Client Headers - Detailed header forwarding configuration
- Claude Code Quickstart - Basic Claude Code + LiteLLM setup
- Virtual Keys - Creating and managing API keys
- Budgets & Rate Limits - Setting up usage controls