Tag-Based Policy Attachments
Apply guardrail policies automatically to any key or team that has a specific tag. Instead of attaching policies one-by-one, tag your keys and let the policy engine handle the rest.
Example: Your security team requires all healthcare-related keys to run PII masking and PHI detection. Tag those keys with health, create a single tag-based attachment, and every matching key gets the guardrails automatically.
1. Create a Policy with Guardrails
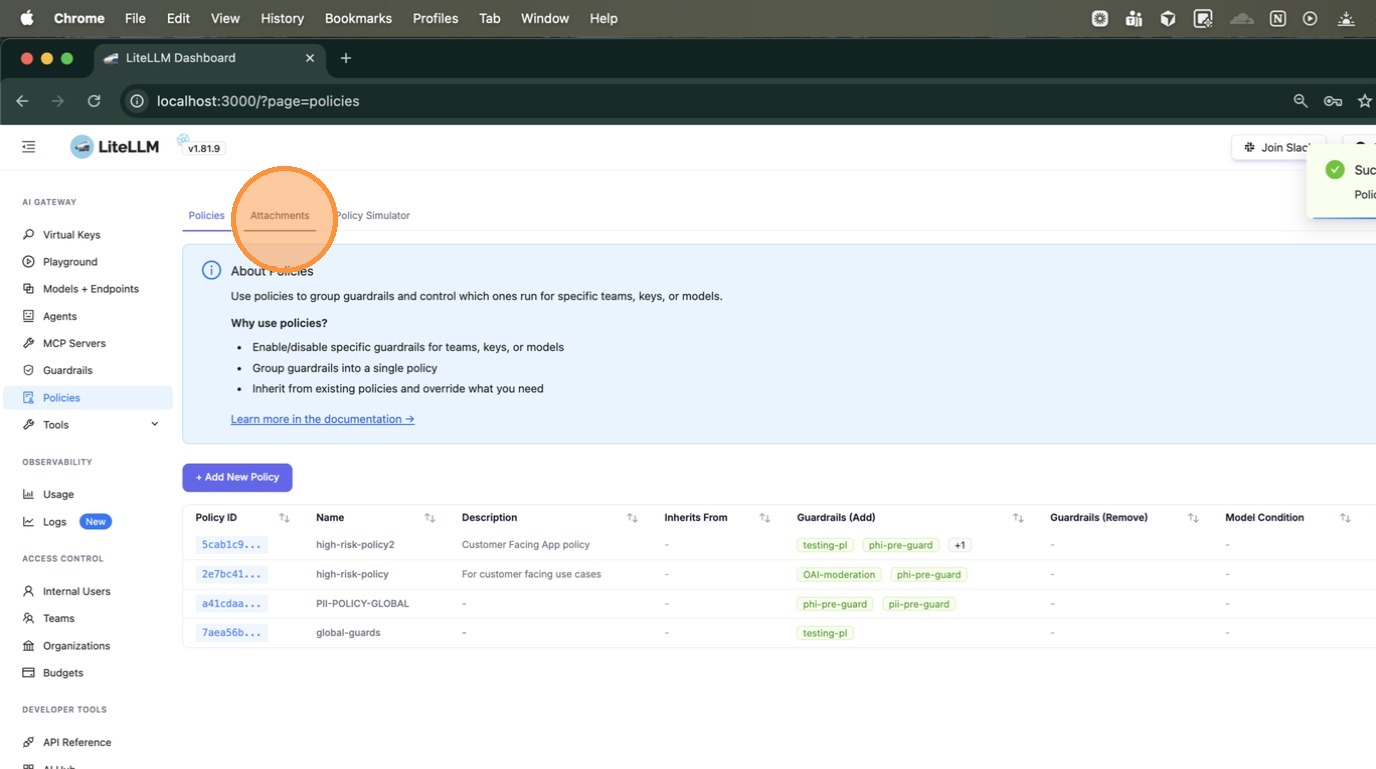
Navigate to Policies in the left sidebar. You'll see a list of existing policies along with their guardrails.
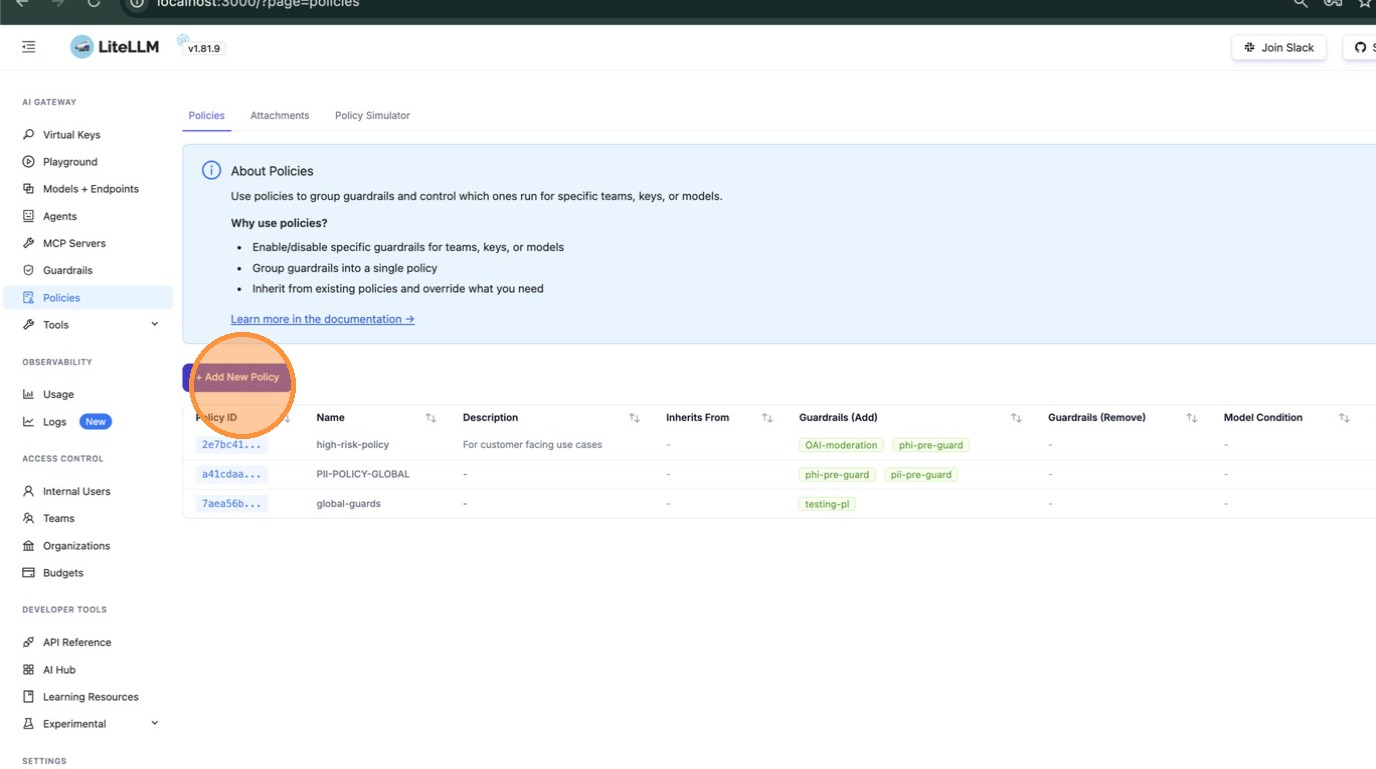
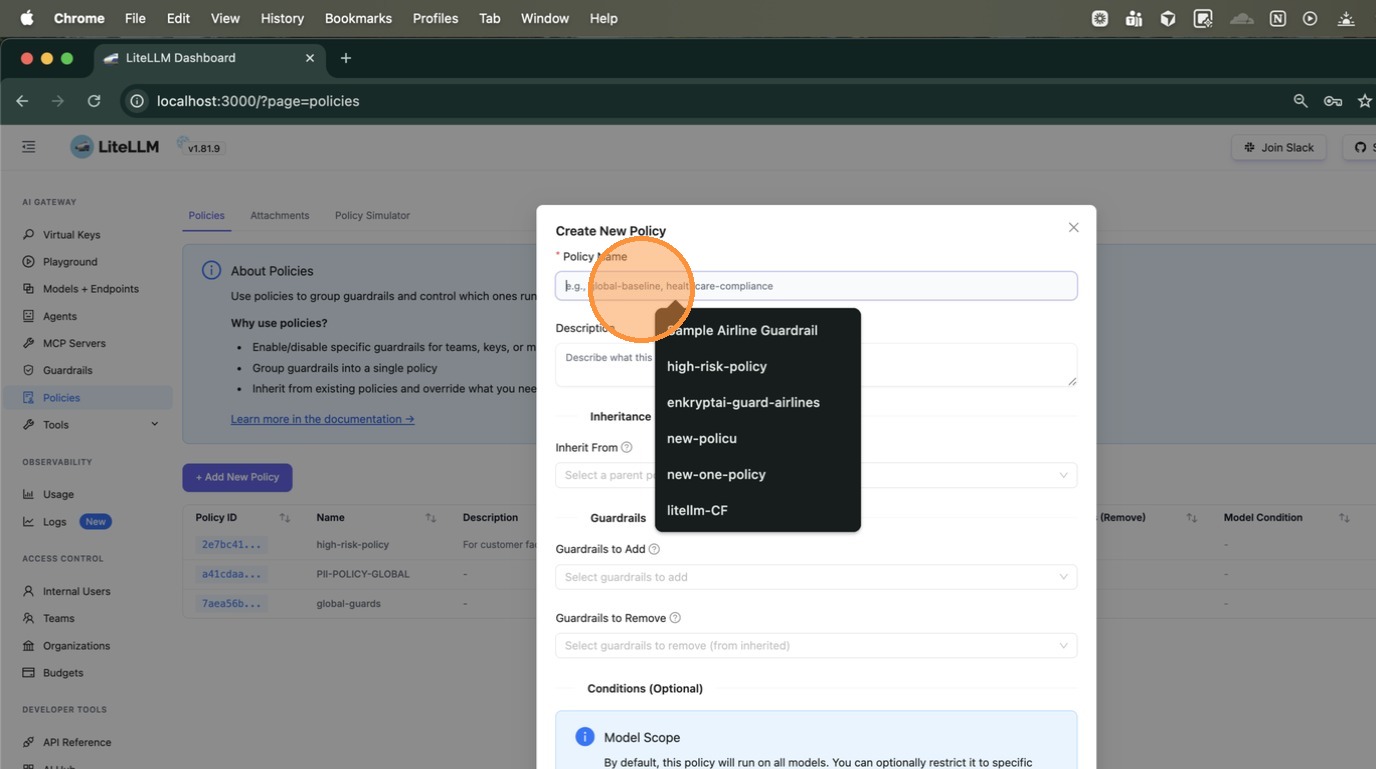
Click + Add New Policy. In the modal, enter a name for your policy (e.g., high-risk-policy2). You can also type to search existing policy names if you want to reference them.
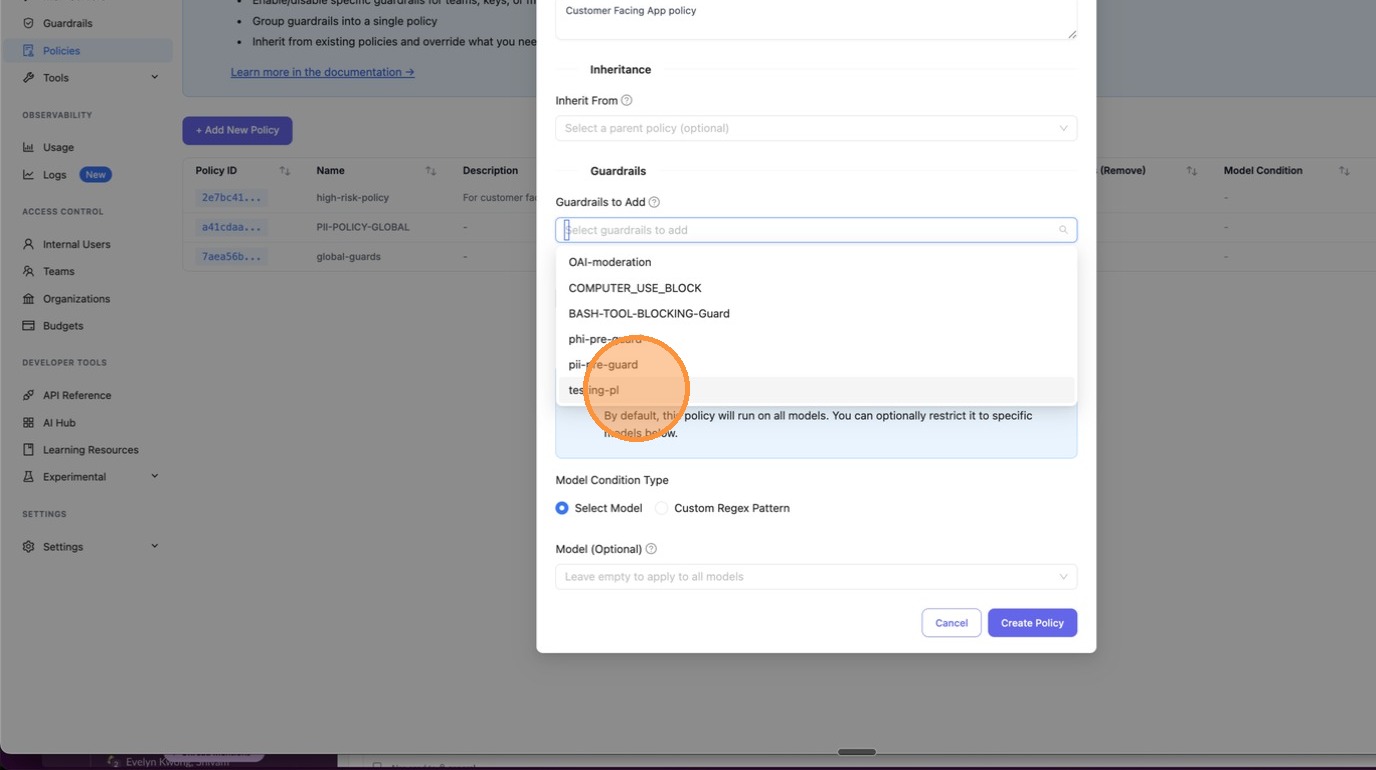
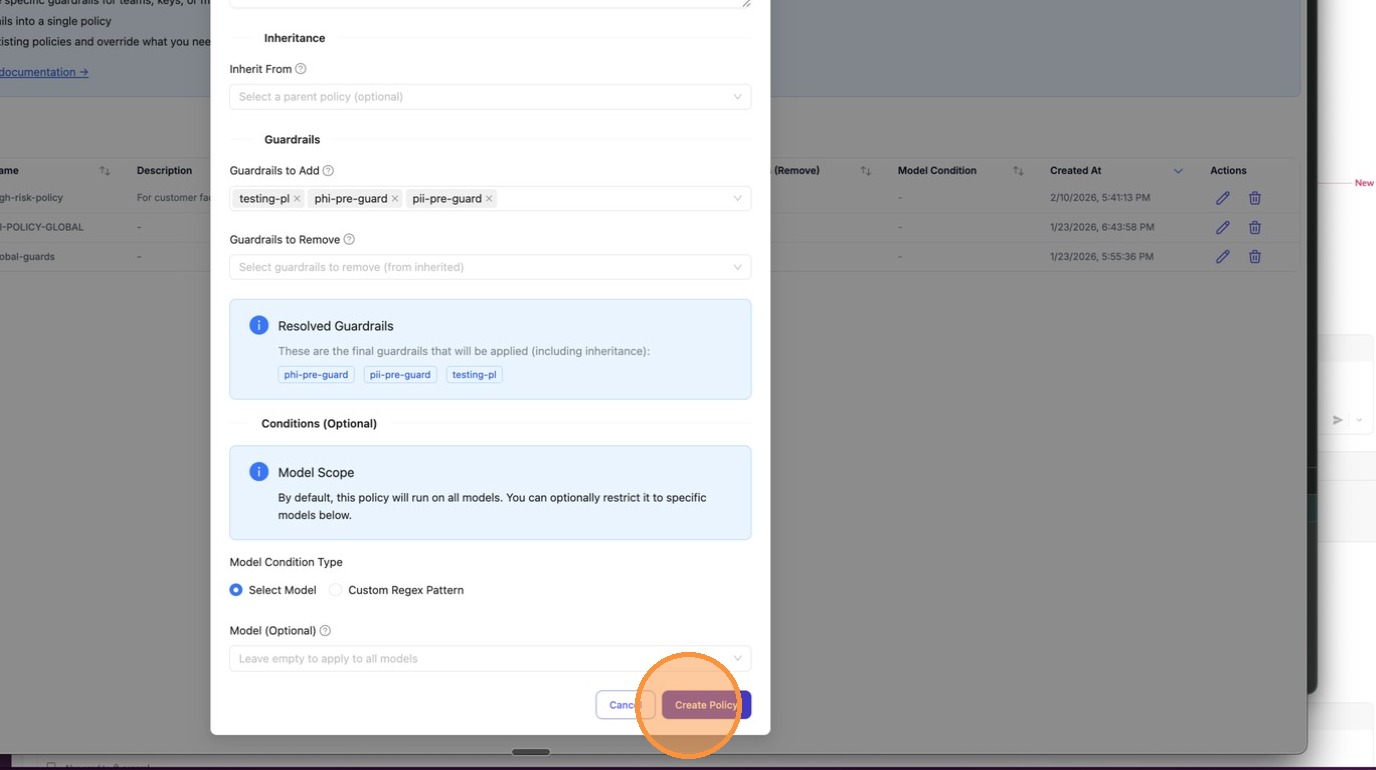
Scroll down to Guardrails to Add. Click the dropdown to see all available guardrails configured on your proxy — select the ones this policy should enforce.
After selecting your guardrails, they appear as chips in the input field. The Resolved Guardrails section below shows the final set that will be applied (including any inherited from a parent policy).
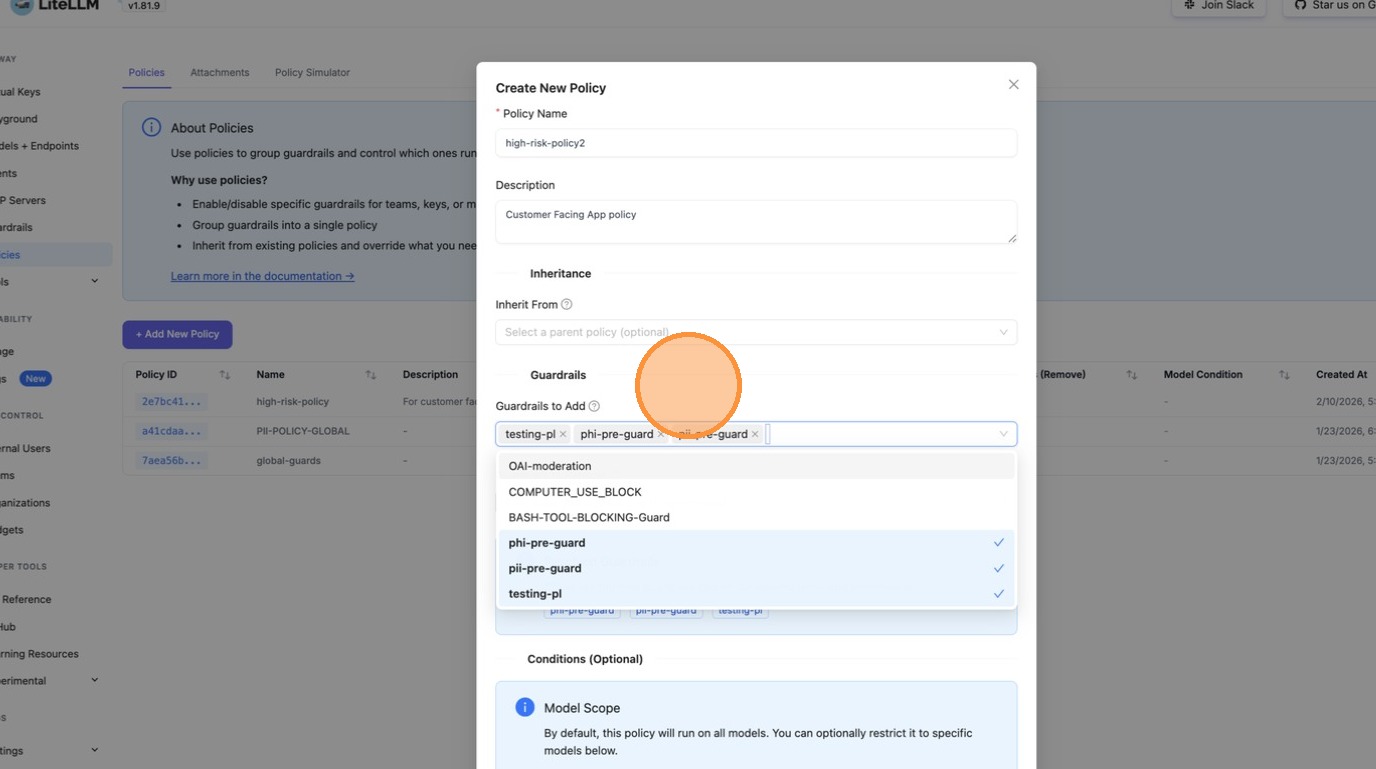
Click Create Policy to save.
2. Add a Tag Attachment for the Policy
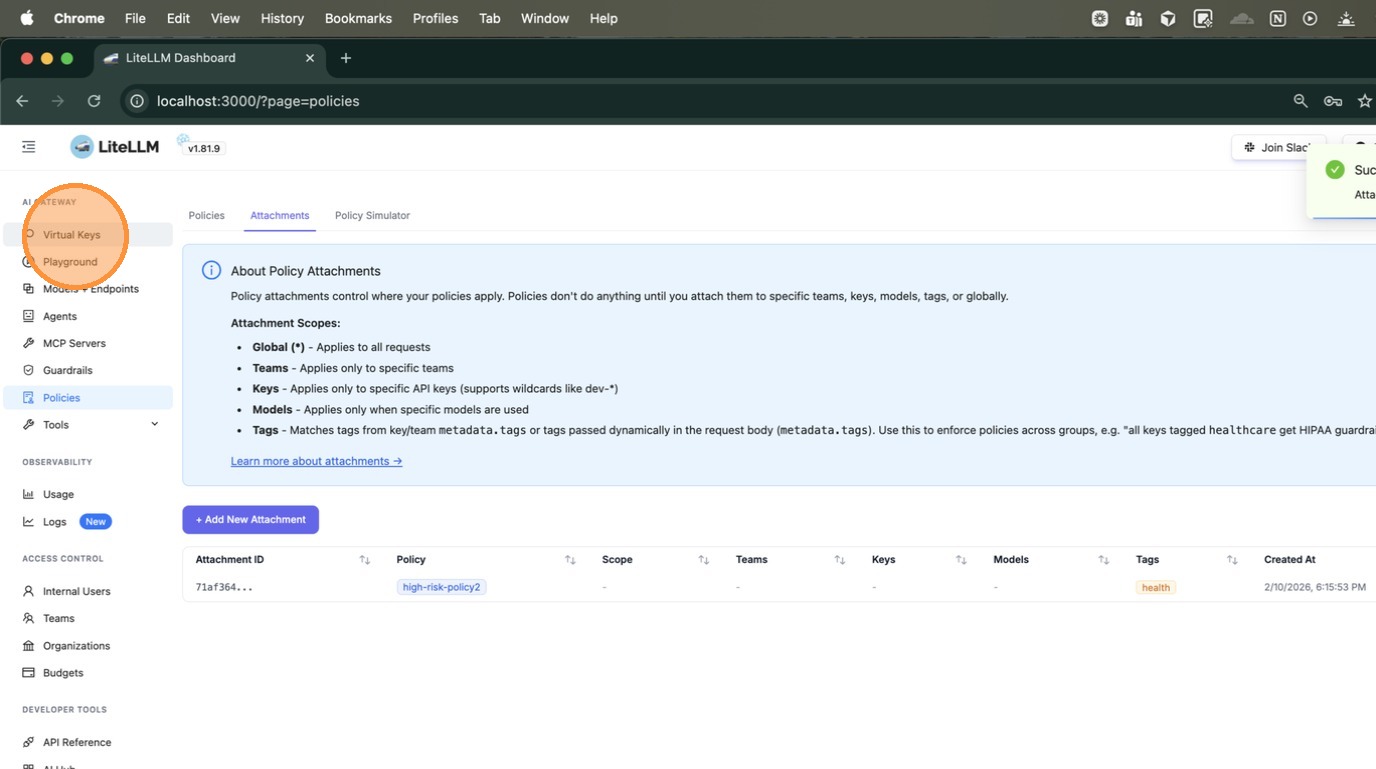
After creating the policy, switch to the Attachments tab. This is where you define where the policy applies.
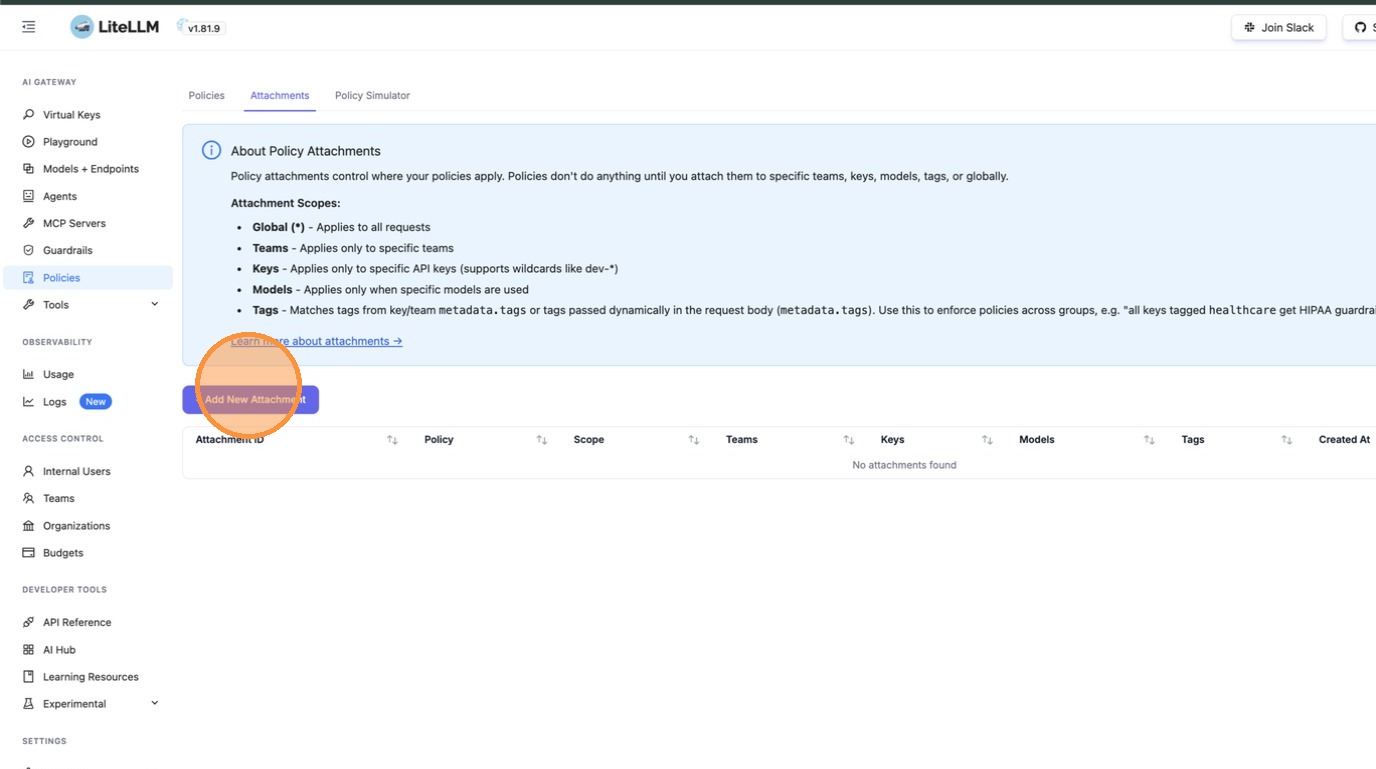
Click + Add New Attachment. The Attachments page explains the available scopes: Global, Teams, Keys, Models, and Tags.
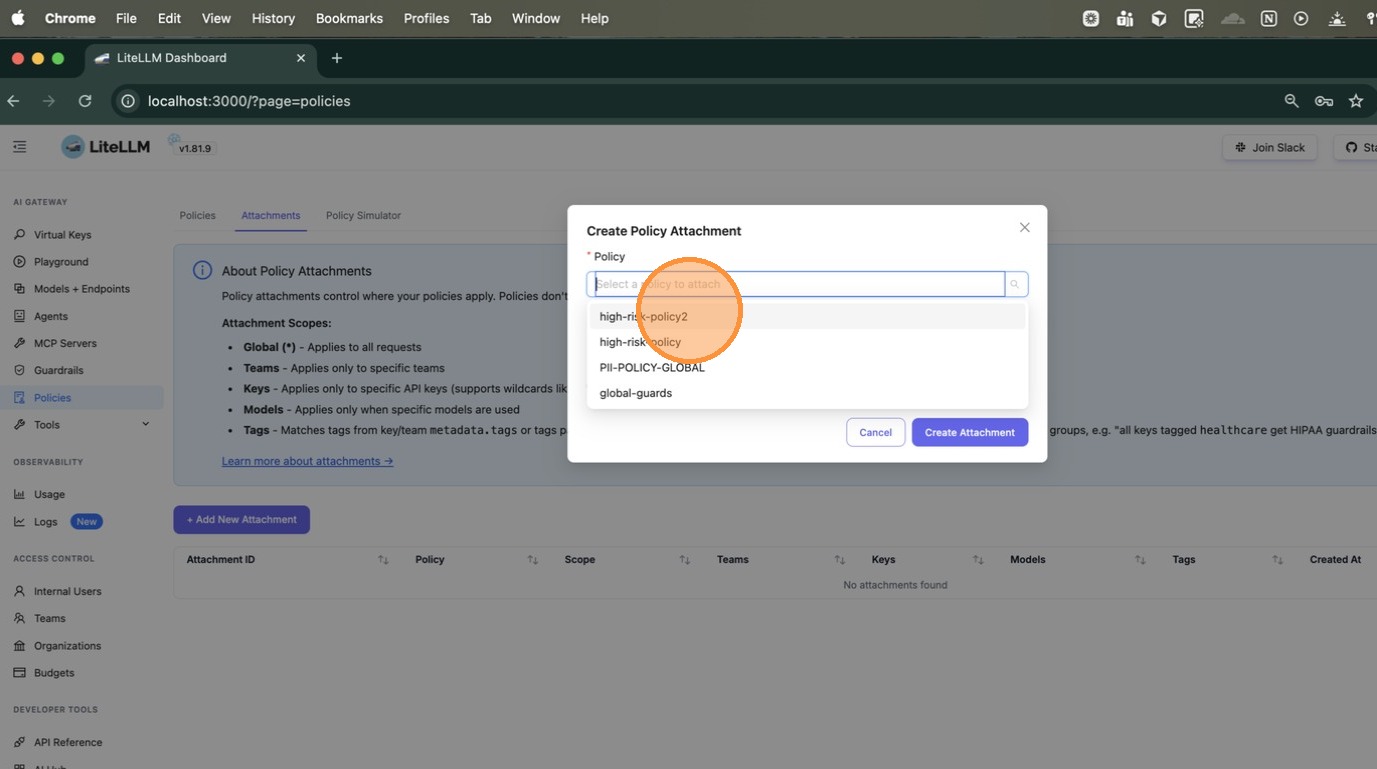
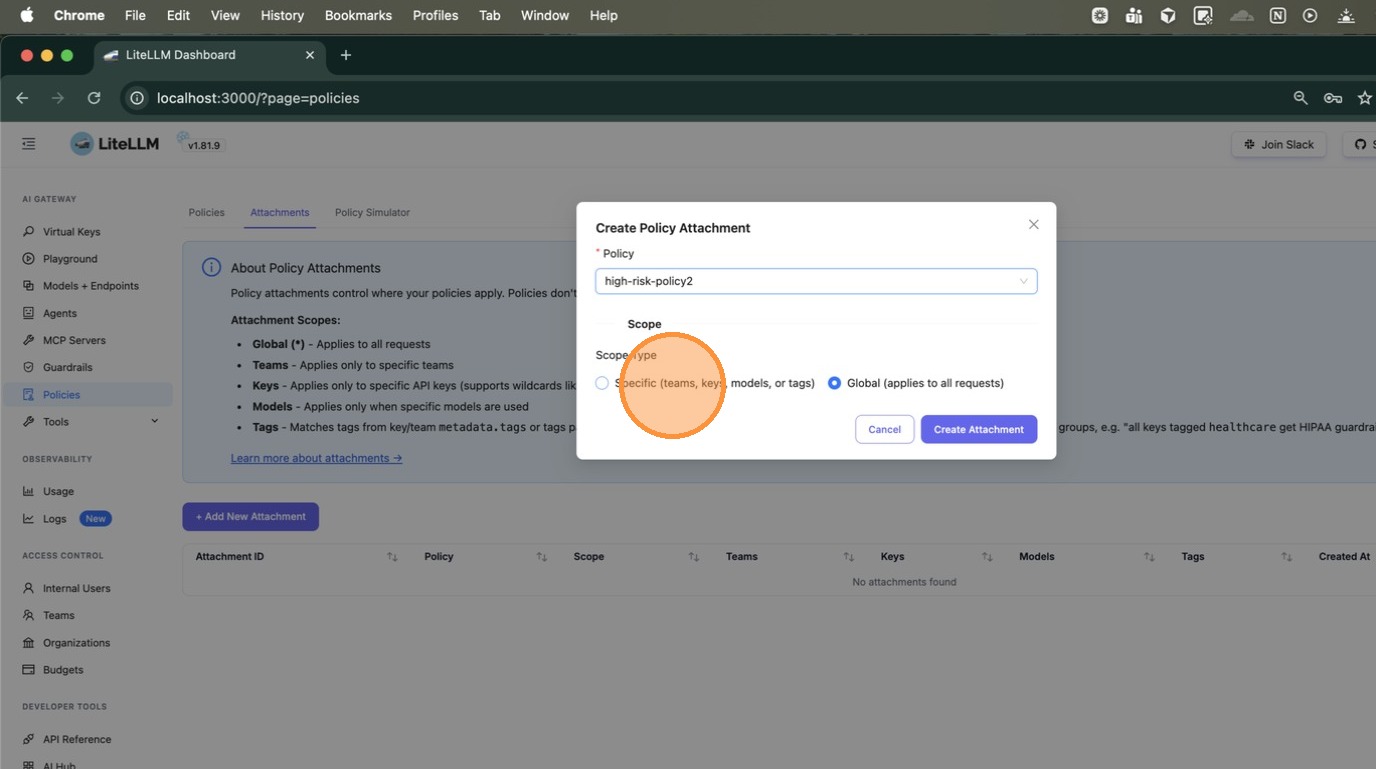
In the Create Policy Attachment modal, first select the policy you just created from the dropdown.
Choose Specific (teams, keys, models, or tags) as the scope type. This expands the form to show fields for Teams, Keys, Models, and Tags.
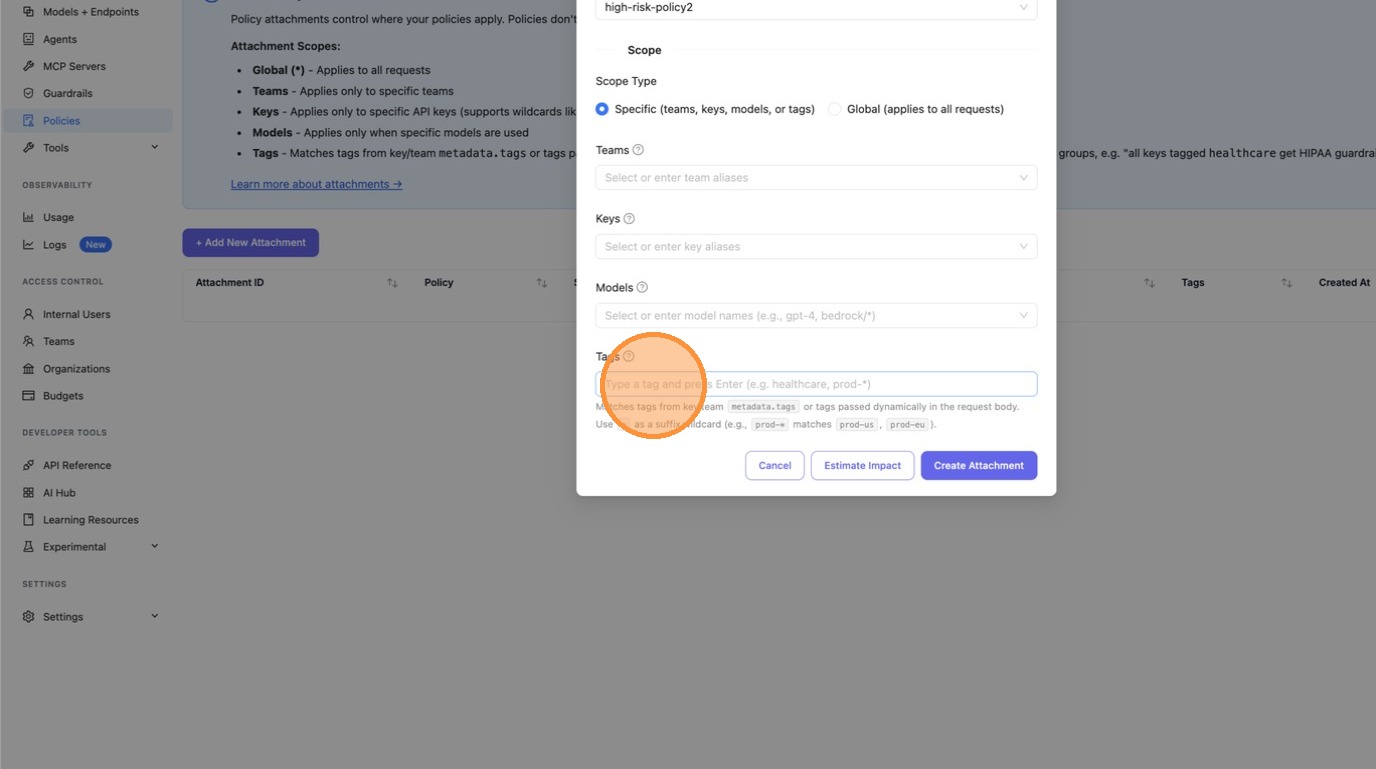
Scroll down to the Tags field and type the tag to match — here we enter health. You can enter any string, or use a wildcard pattern like health-* to match all tags starting with health- (e.g., health-team, health-dev).
3. Check the Impact of the Attachment
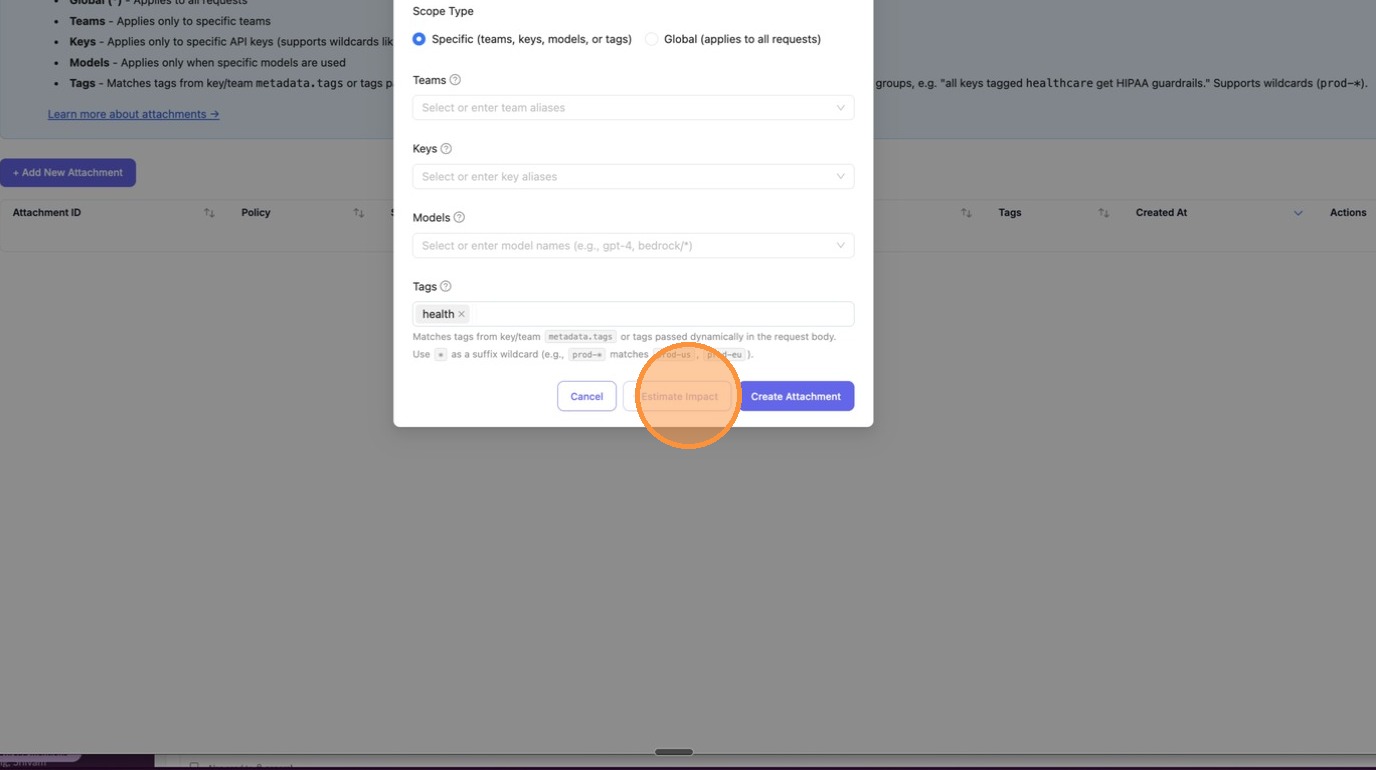
Before creating the attachment, click Estimate Impact to preview how many keys and teams would be affected. This is your blast-radius check — make sure the scope is what you expect before applying.
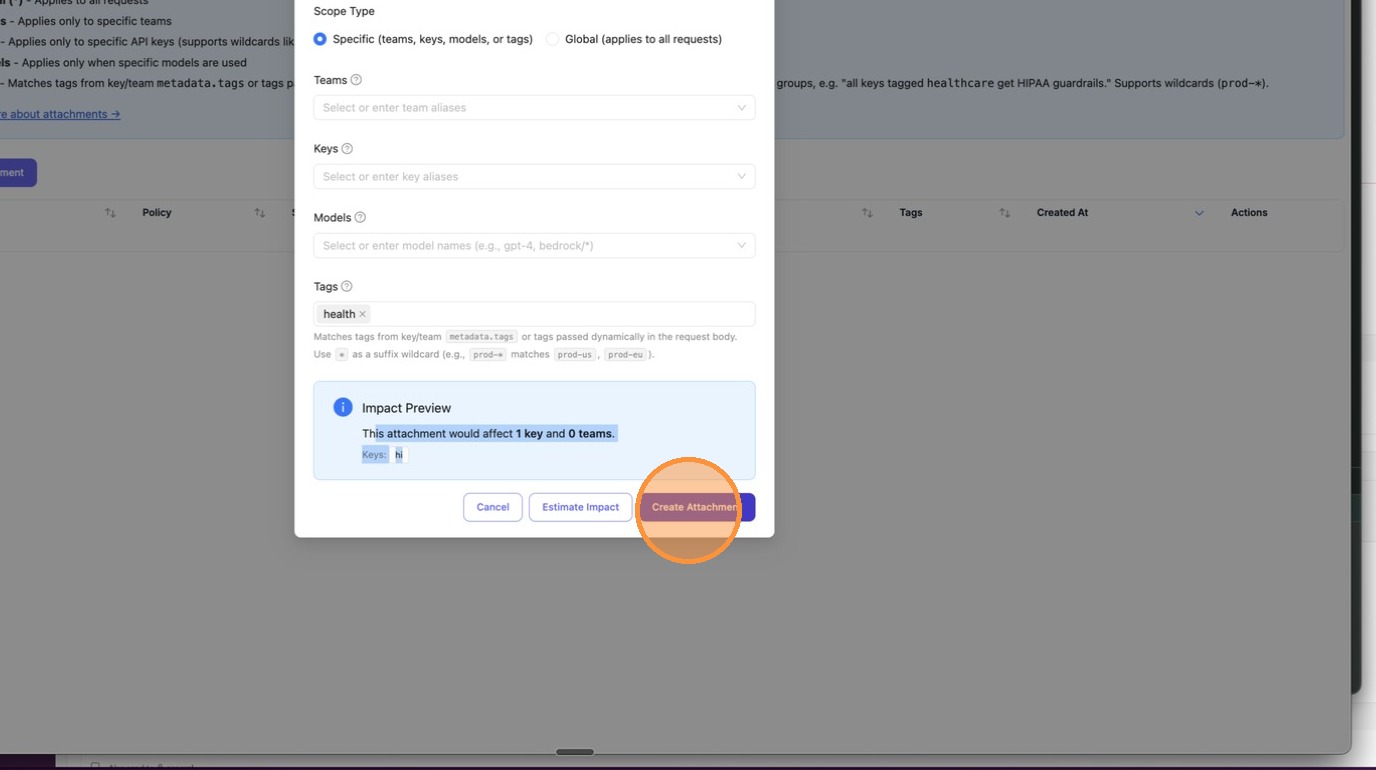
The Impact Preview appears inline, showing exactly how many keys and teams would be affected. In this example: "This attachment would affect 1 key and 0 teams", with the key alias hi listed.

Once you're satisfied with the impact, click Create Attachment to save.
The attachment now appears in the table with the policy name high-risk-policy2 and tag health visible.
4. Create a Key with the Tag
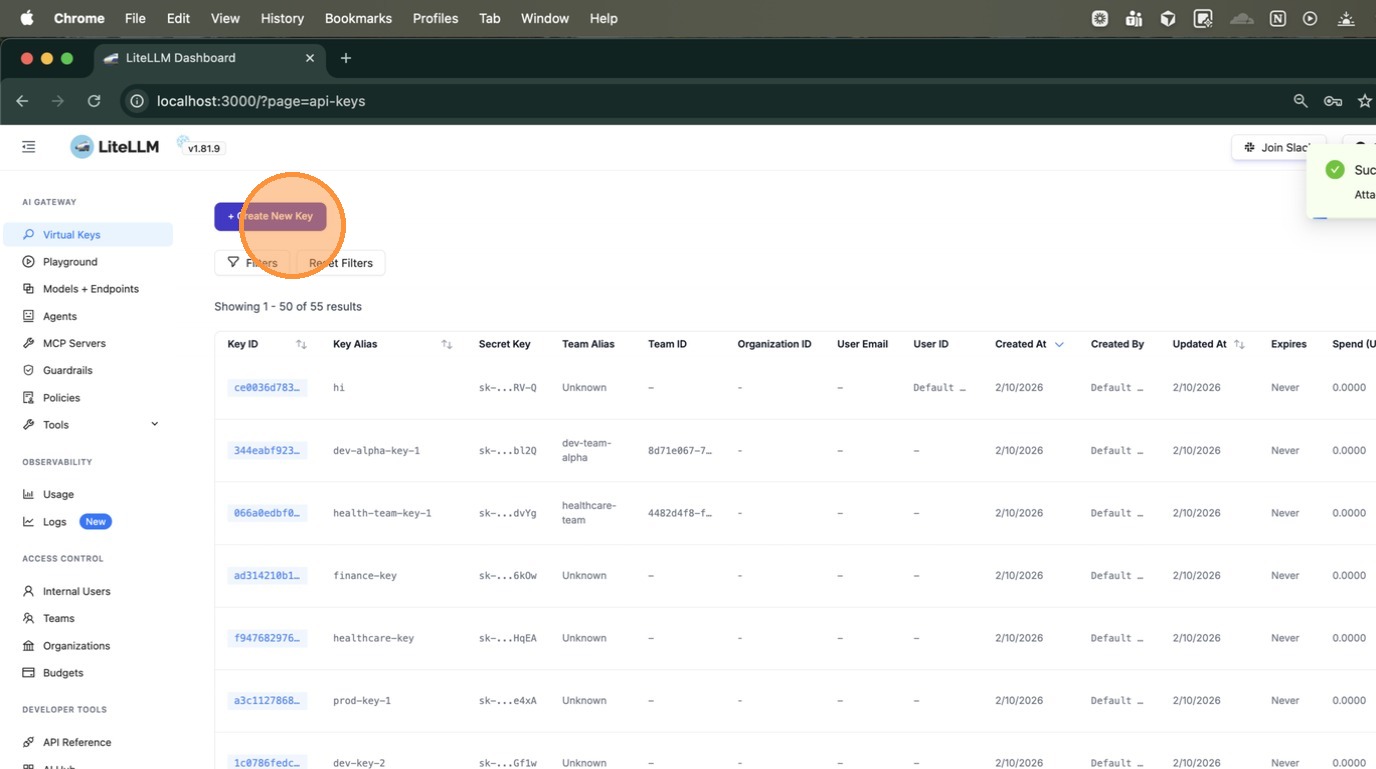
Navigate to Virtual Keys in the left sidebar. Click + Create New Key.
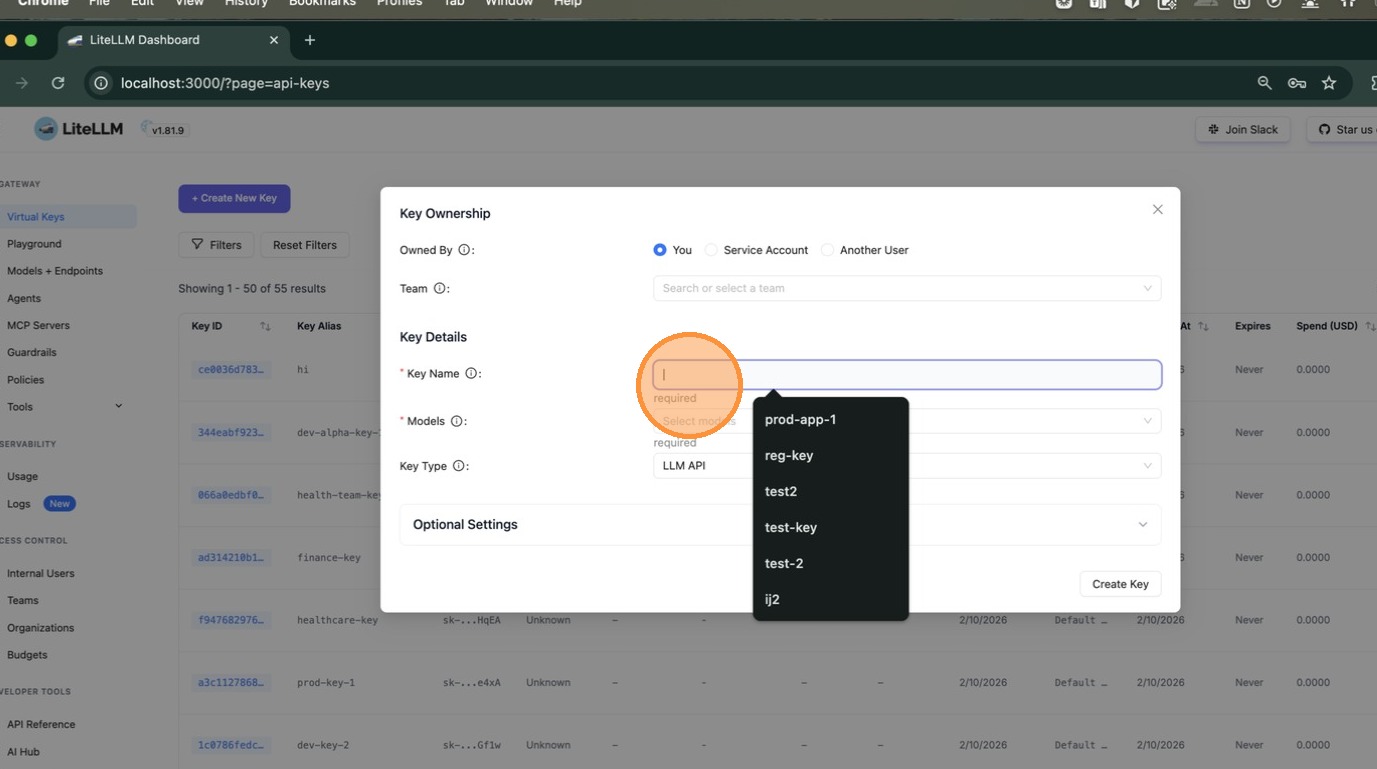
Enter a key name and select a model. Then expand Optional Settings and scroll down to the Tags field.
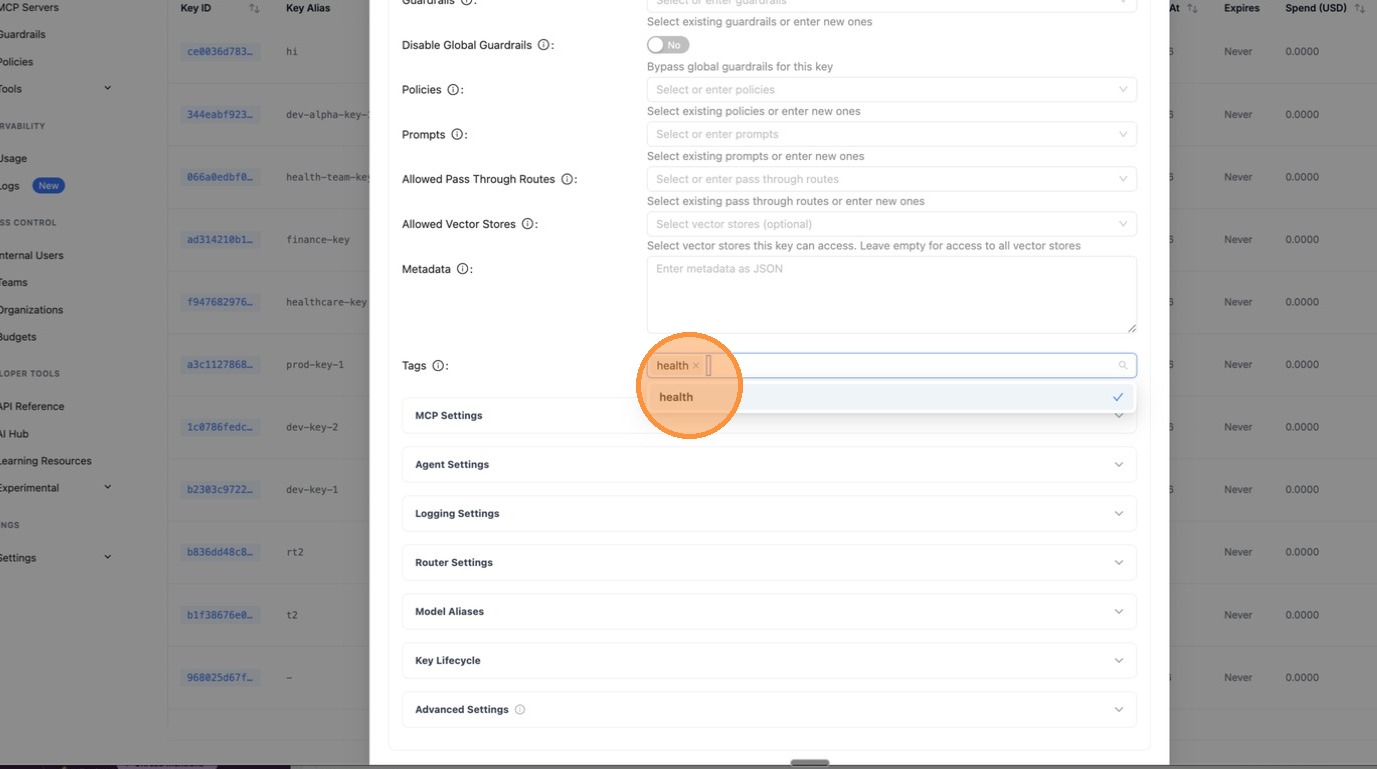
In the Tags field, type health and press Enter. This is the tag the policy engine will match against.

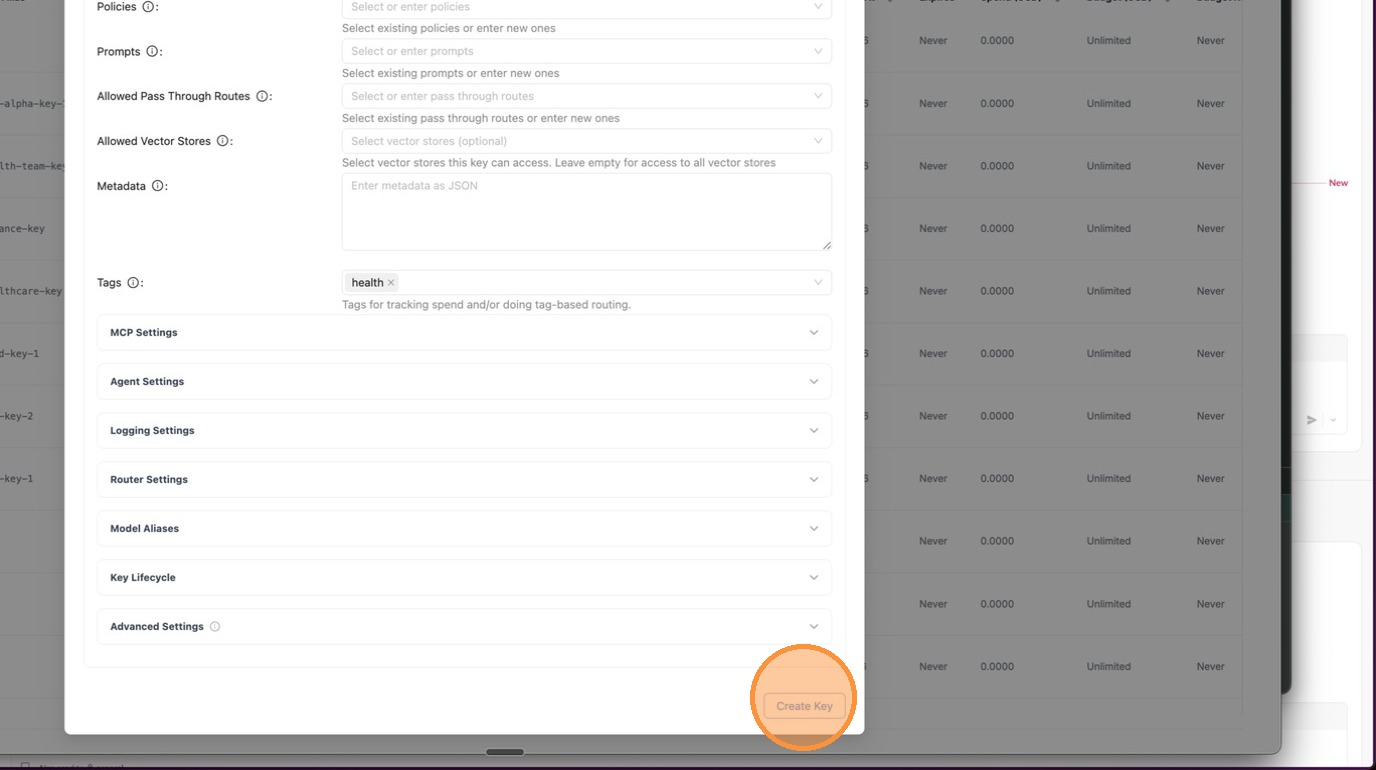
The tag health now appears as a chip in the Tags field. Confirm your settings look correct.
Click Create Key at the bottom of the form.
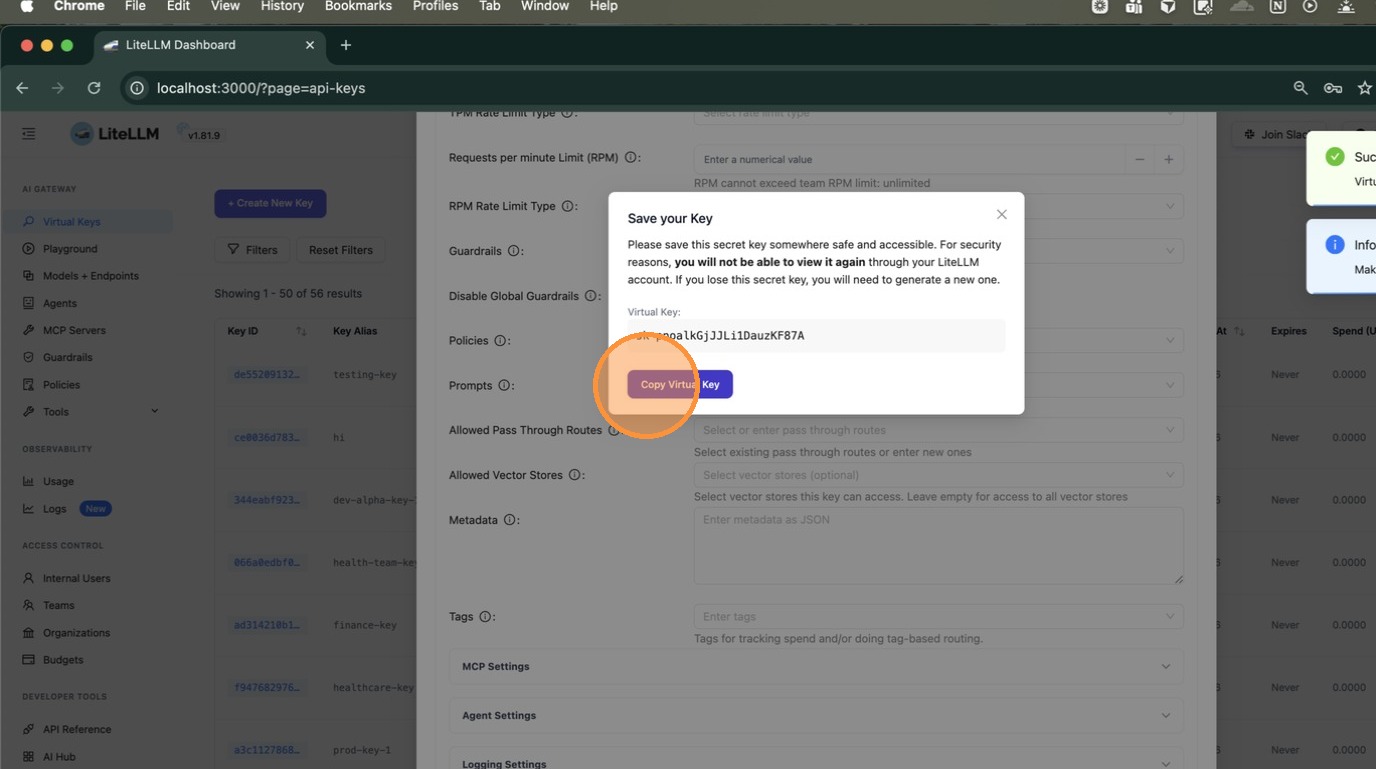
A dialog appears with your new virtual key. Click Copy Virtual Key — you'll need this to test in the next step.
5. Test the Key and Validate the Policy is Applied
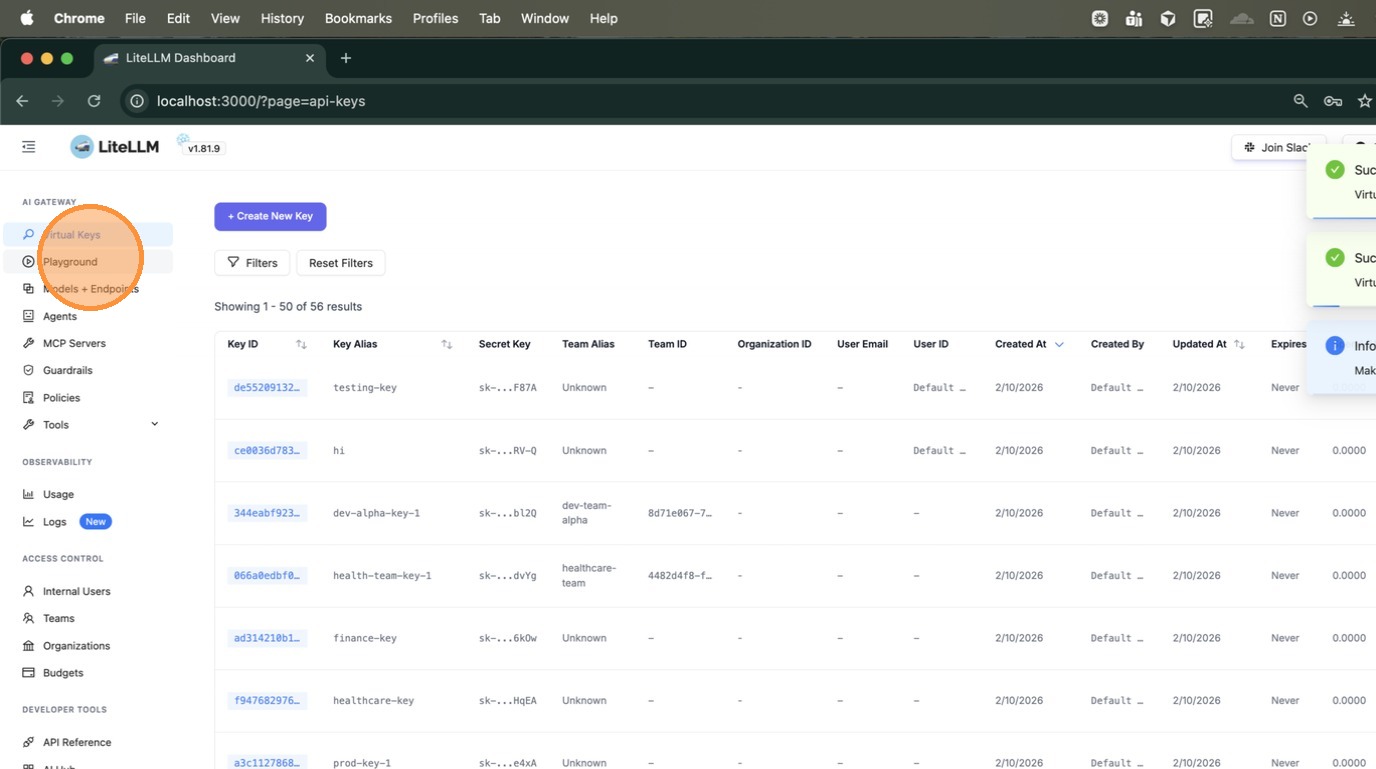
Navigate to Playground in the left sidebar to test the key interactively.
Under Virtual Key Source, select "Virtual Key" and paste the key you just copied into the input field.
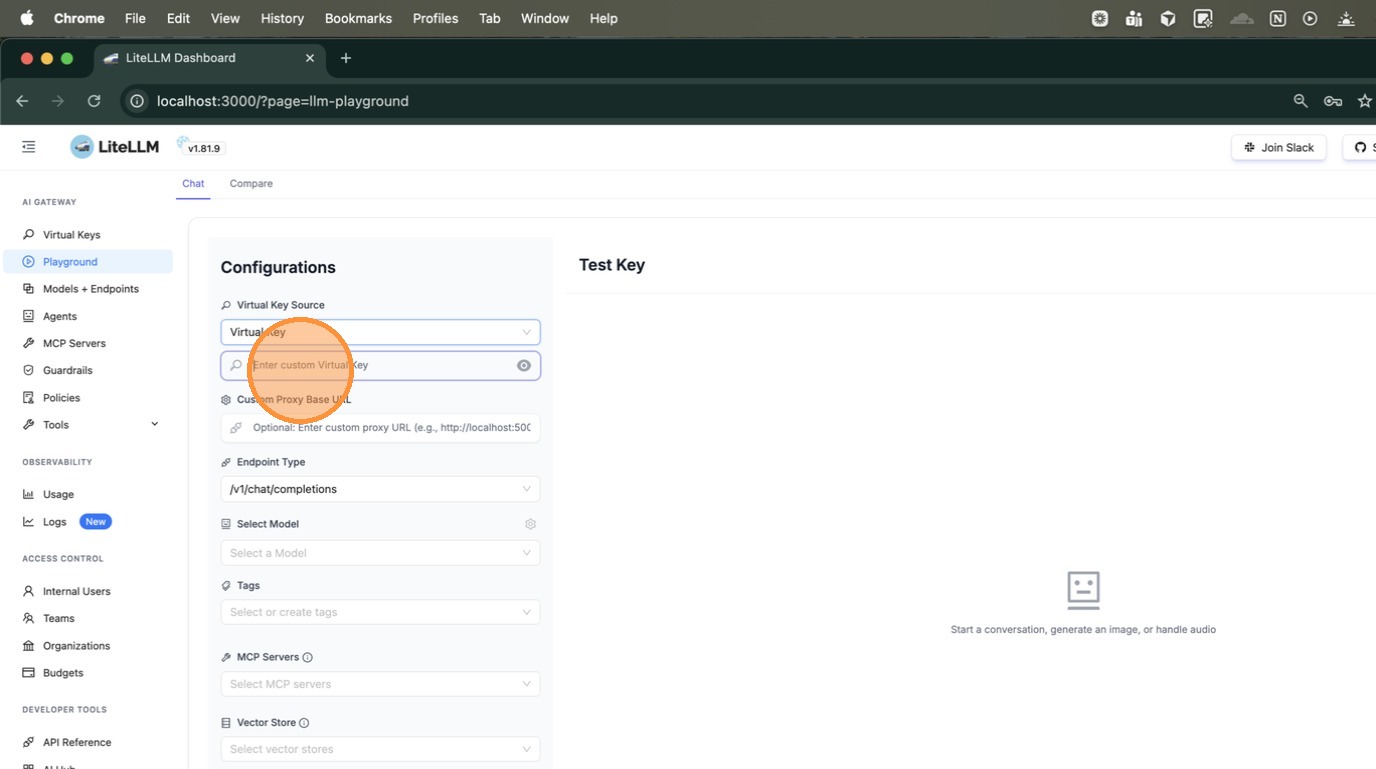
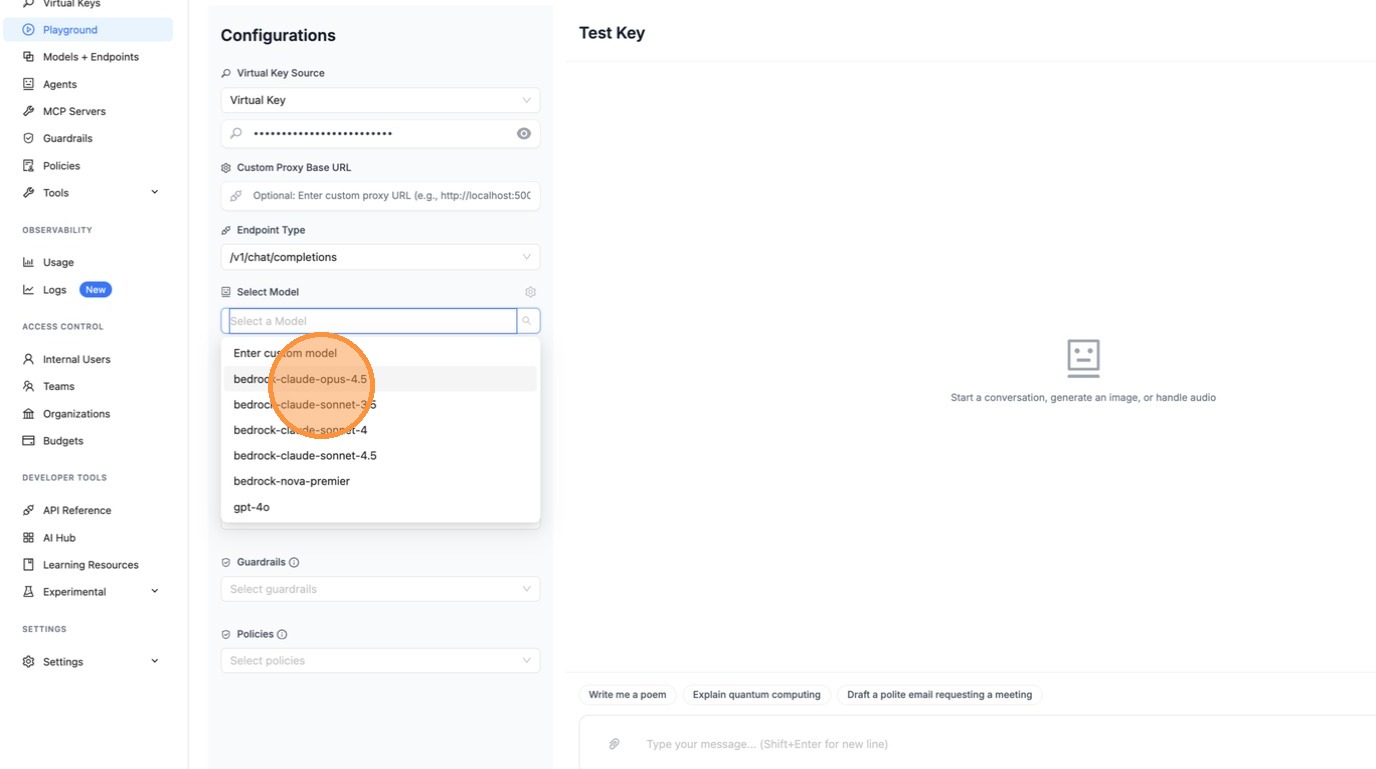
Select a model from the Select Model dropdown.
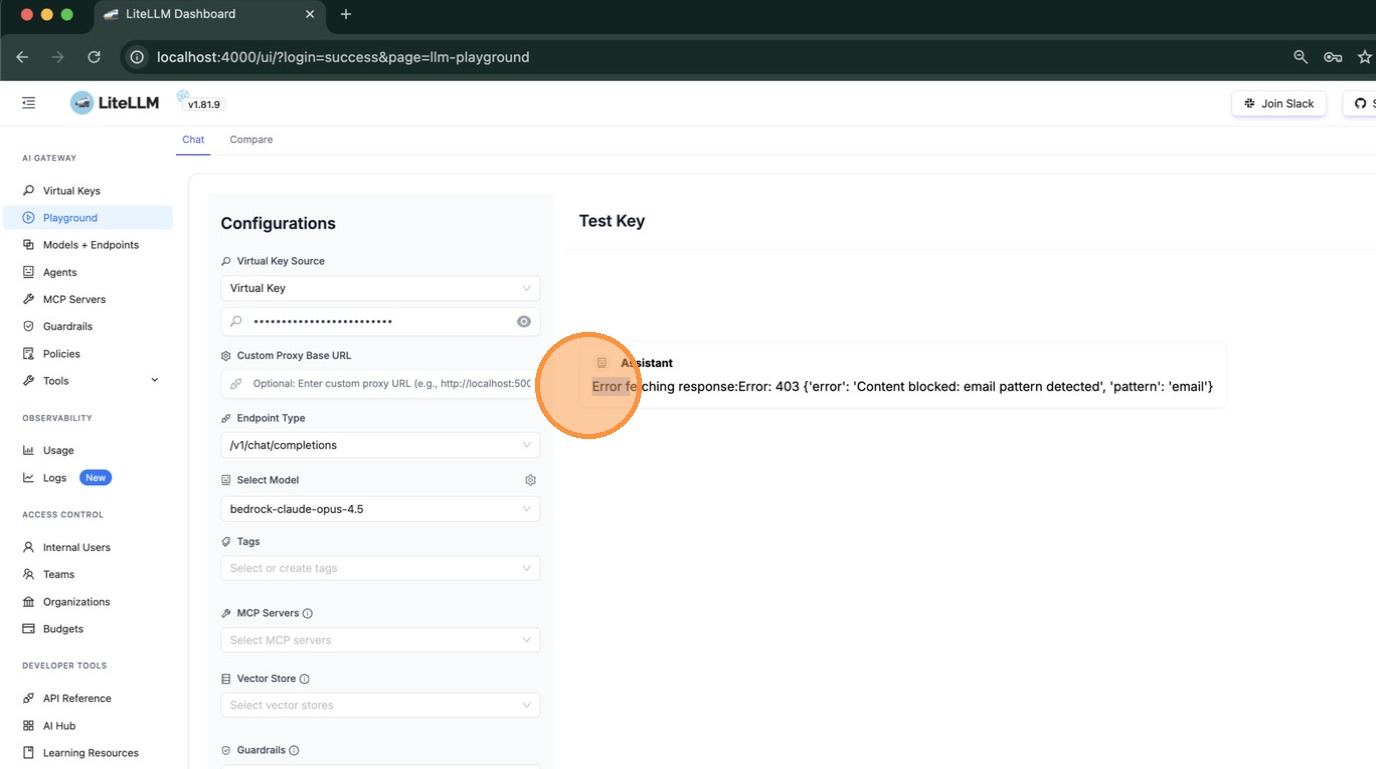
Type a message and press Enter. If a guardrail blocks the request, you'll see it in the response. In this example, the testing-pl guardrail detected an email pattern and returned a 403 error — confirming the policy is working.
Using curl:
You can also verify via the command line. The response headers confirm which policies and guardrails were applied:
curl -v http://localhost:4000/chat/completions \
  -H "Authorization: Bearer <your-tagged-key>" \
  -H "Content-Type: application/json" \
  -d '{
    "model": "gpt-4o",
    "messages": [{"role": "user", "content": "say hi"}]
  }'
Check the response headers:
x-litellm-applied-policies: high-risk-policy2
x-litellm-applied-guardrails: pii-pre-guard,phi-pre-guard,testing-pl
x-litellm-policy-sources: high-risk-policy2=tag:health
| Header | What it tells you |
|---|---|
x-litellm-applied-policies | Which policies matched this request |
x-litellm-applied-guardrails | Which guardrails actually ran |
x-litellm-policy-sources | Why each policy matched — tag:health confirms it was the tag |