Investigations
Run your first investigation
You need a running Lens installation, administrator access to standalone Lens or its connected gateway, and at least one recorded agent trace
1. Enable investigations
Configure an analysis model and its provider credential on the Lens server using Configure analysis models. Then open Settings > Analysis and select Check configuration. The configured model should appear with Analysis is configured when the investigation worker is ready
Provider credentials stay on the Lens server. You choose the analysis model and monthly spending limit for each investigation. Lens can call a provider directly or use an explicitly configured LiteLLM model endpoint. Readiness confirms configuration; the first investigation verifies actual provider access
2. Choose the traces
Click New investigation. In Activity, name the investigation and choose an Agent. The dropdown lists recorded agent names; leave it blank to include all accessible activity. Open Advanced filters to choose agent traces, LLM requests, or both, restrict the selection to a team, or add metadata conditions. Request analysis uses the request logs stored in ClickHouse. Metadata conditions match recorded keys and values exactly.
Set Review the last and Sample (%) to choose the time window and percentage of matching runs. The defaults review 100% of matching activity from the last day. The preview updates as you change the selection and lets you inspect a matching run
3. Describe what to check
Click Continue to open Criteria. Describe what your agent should do in What should the agent be doing?
For example:
The research agent answers the user's question with sources. It checks the sources before writing the final answer and states when it cannot verify a claim.
Under Watch for, select the behaviors you want checked. Use Add your own to describe another check. Expected behavior is checked even when you leave these blank. For example:
Find claims that conflict with the retrieved sources.
Find tool failures that the agent does not recover from.
Find repeated searches that add no new information.
After setup, you can review these under Criteria and change them through Edit investigation in the actions menu.
4. Start the run
Click Continue to open Run. Under Advanced options, check the Analysis model and Monthly limit (USD), and optionally set Maximum runs or choose individual runs. The usage note shows the selected model and spending limit before you start
Lens sends selected trace content to that model through its configured provider connection. Provider charges apply. Changing the investigation's model does not change your agent's own model connection
For a single run, clear Keep watching for new traces and click Run investigation. For monitoring, leave it enabled, set Check every to the desired interval and click Run and monitor
Lens reviews the selected runs in parallel, groups similar observations, and checks the original evidence before saving findings.
Use Run now to start another investigation with the saved settings. Scheduled investigations use those same settings. Use Duplicate in the actions menu to ask a one-off question or investigate a different selection without changing the original lens. Use Pause monitoring to stop scheduled investigations.
Read the findings
Open Findings when the investigation finishes. Needs attention shows problems, ordered by priority. Patterns shows other observations, including successful recovery and useful behavior.
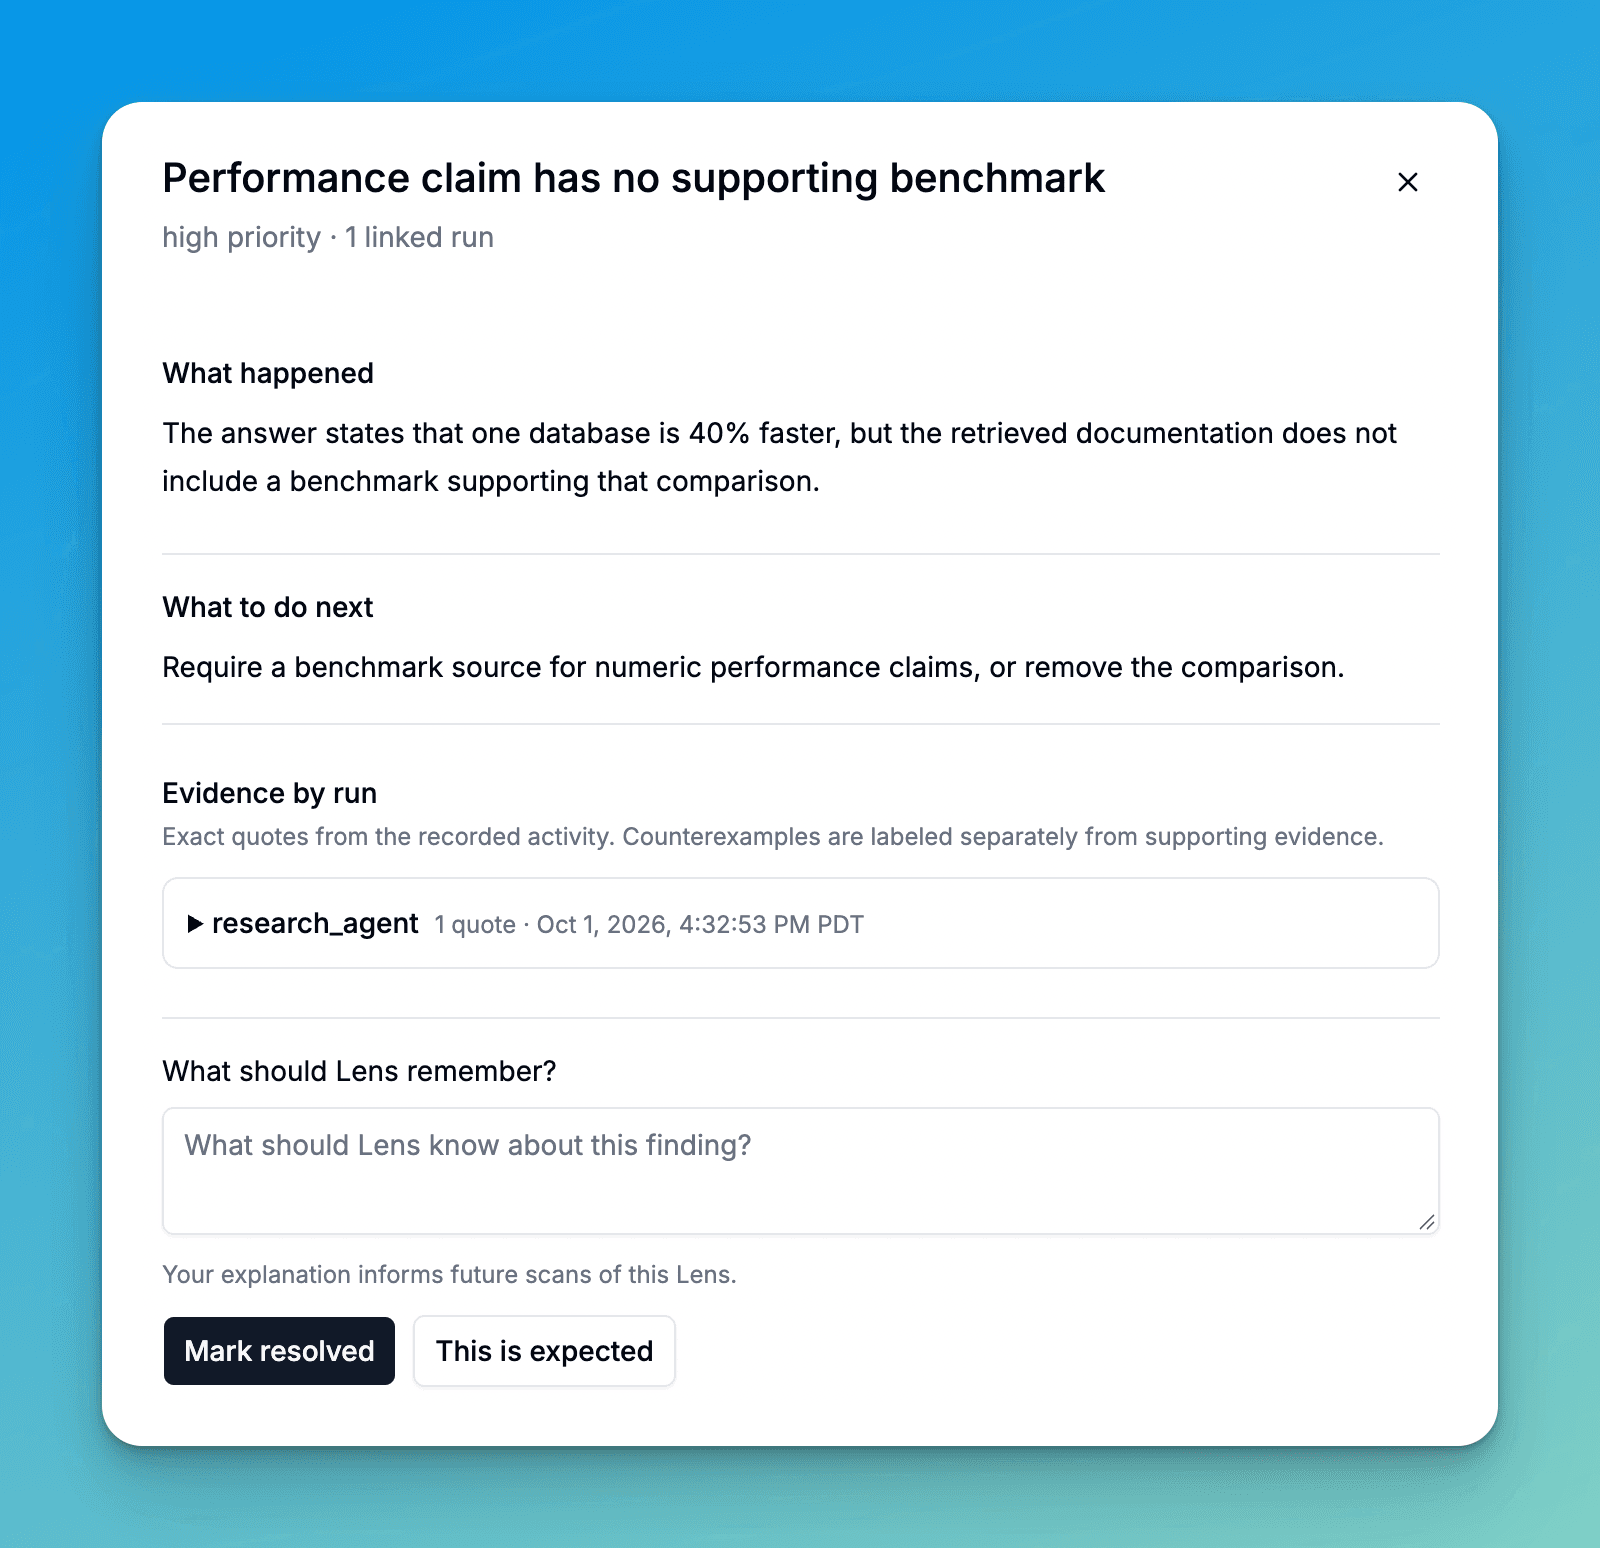
Open a finding to read what happened and the suggested next step. Expand Evidence by run to read the quotes. Click Open original step to see the cited step in its trace.
Use History to return to a previous run and its findings, settings, progress, total duration, and cost. Duration includes any wait for a worker. Traces shows the activity selected for that run; this tab is called Requests or Traces & requests when those activity types are selected.
Findings describe the reviewed sample. Linked runs counts cited supporting runs; it is not a count of all failures. Evidence can also include labeled counterexamples.
Give feedback
If Lens flags expected behavior, explain why in Feedback and click This is expected. Lens uses that feedback in later investigations for the same lens.
After you fix an issue, click Mark resolved. Lens can reopen it if the same issue appears in new runs.
How investigations run
Lens runs on your infrastructure and owns its scheduler, execution and saved results. It keeps running when you close the dashboard. Replicas coordinate work through ClickHouse state and call the configured analysis provider
Each investigation has its own monthly spending limit. Lens reserves budget before provider calls and records known completed-call costs in run history, including calls that finish during cancellation. If you route analysis through a gateway model key, that key's existing gateway billing and limits also apply

